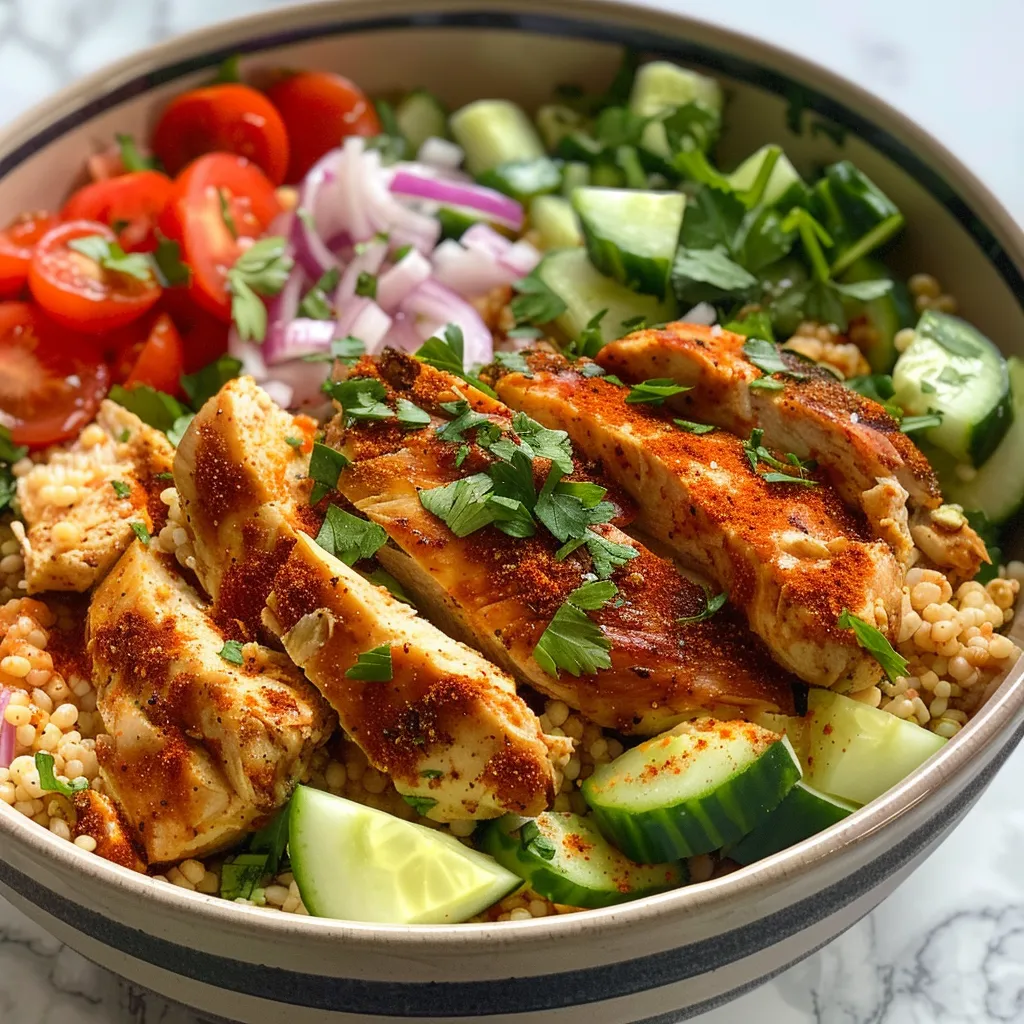
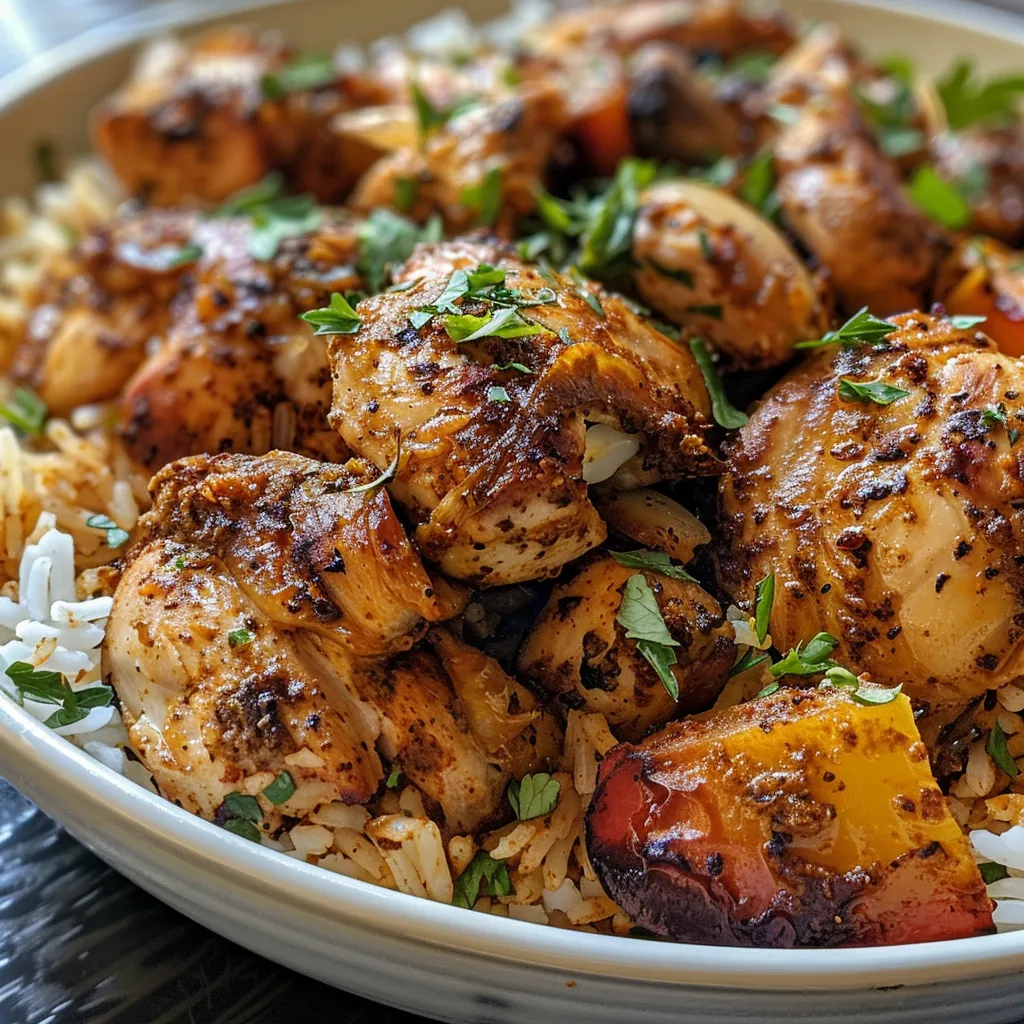
Discover the Heartwarming BBQ Chicken Sweet Potato Bowl
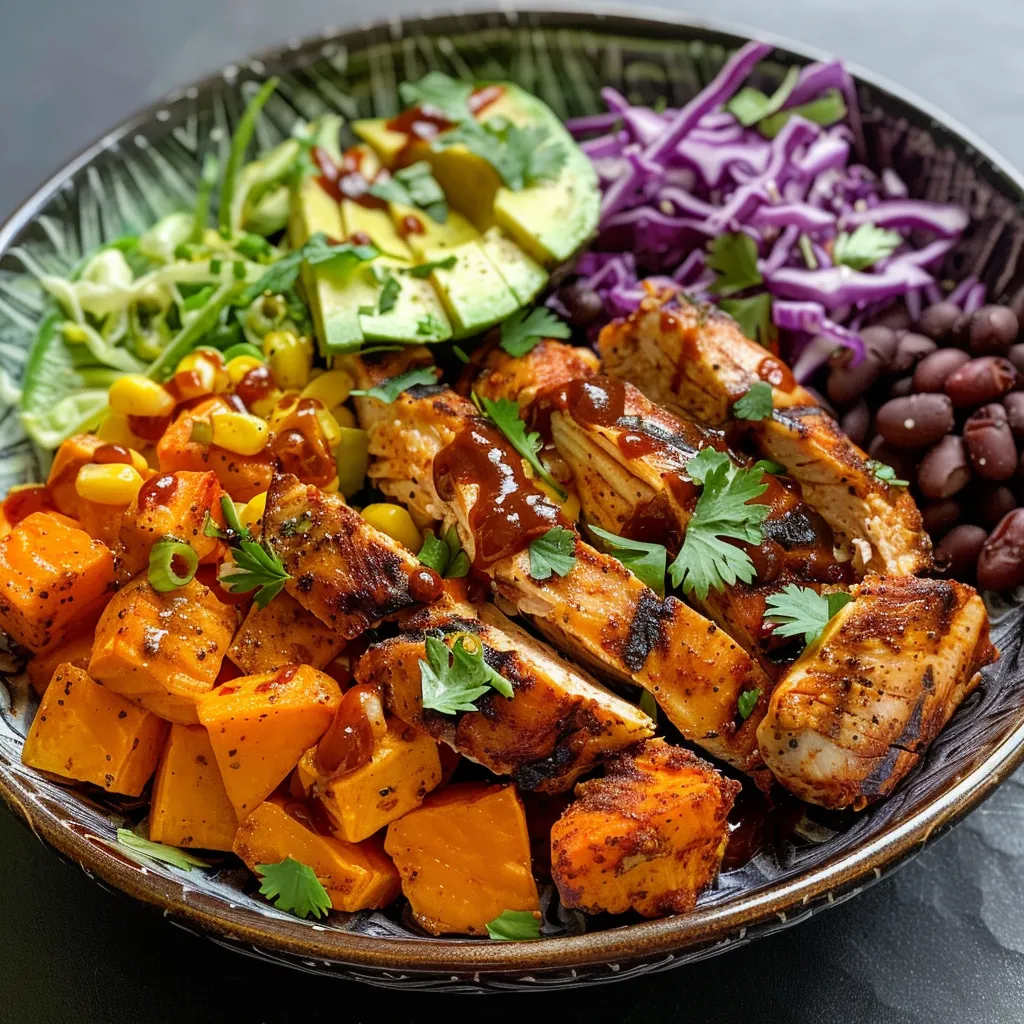
Welcome to a dish that embodies the warmth of home cooking—my BBQ Chicken Sweet Potato Bowl. In this hearty recipe, you’ll find tender chicken glazed in your favorite BBQ sauce, paired with roasted sweet potatoes, and topped with fresh, vibrant ingredients. This bowl is more than just a meal; it’s a comforting reminder of family gatherings, shared laughter, and the simple joys of good food. Let’s dive into why this dish is not only satisfying but also a breeze to prepare!
Why You’ll Love This Recipe
- Flavorful Fusion: The sweet, caramelized roasted sweet potatoes complement the smoky, tangy BBQ chicken perfectly, creating a symphony of taste in every bite.
- Healthful Goodness: Packed with nutrients, this bowl features wholesome ingredients like sweet potatoes and black beans, making it a fulfilling meal option that nourishes your body.
- Meal Prep Champion: This recipe is ideal for meal prep. Prepare a big batch and enjoy it throughout the week for quick, healthy lunches or dinners.
- Customizable Delight: You can easily adapt this recipe to your taste preferences by adding your favorite vegetables or trying different protein options.
- Simple Steps: With just a few easy steps, you can whip up this delicious bowl in under an hour, perfect for busy weeknights.
Ingredient Breakdown
Here’s what you’ll need to create this BBQ Chicken Sweet Potato Bowl, along with some handy substitutions:
- For the Chicken:
2 boneless, skinless chicken breasts
½ teaspoon smoked paprika
½ teaspoon garlic powder
Salt and black pepper, to taste
½ cup BBQ sauce (your favorite brand or homemade) - For the Sweet Potatoes:
2 medium sweet potatoes, peeled and diced
1 tablespoon olive oil
Salt and pepper, to taste - For the Bowl Assembly:
1 cup shredded red cabbage or slaw mix
1 avocado, sliced
½ cup canned corn, drained
½ cup canned black beans, rinsed
Optional toppings: chopped fresh cilantro, lime wedges, extra BBQ sauce for drizzling
Expert Cooking Tips
To ensure your BBQ Chicken Sweet Potato Bowl turns out perfectly, consider these expert insights:
- Choose Quality Chicken: Opt for fresh, organic chicken breasts for the best flavor and texture.
- Perfect Sweet Potatoes: Cut your sweet potatoes into uniform pieces for even roasting and caramelization.
- Don’t Rush the Glaze: Allow the BBQ sauce to bubble and thicken on the chicken for the richest flavor.
- Layering is Key: When assembling your bowl, layer ingredients for a more visually appealing and satisfying meal.
- Garnish Generously: Fresh cilantro and a squeeze of lime can elevate the flavors and add a refreshing touch.
Common Mistakes and Troubleshooting
Even the best cooks can run into a few hiccups. Here are some common mistakes to avoid:
- Overcooking Chicken: Ensure your chicken reaches an internal temperature of 165°F (75°C) to avoid dryness.
- Underseasoning: Don’t skimp on salt and pepper; they enhance the natural flavors of your ingredients.
- Burnt Sweet Potatoes: Keep an eye on the sweet potatoes while roasting; every oven is different, so adjust cooking times as needed.
- Skipping the Resting Time: Let your chicken rest after cooking to keep it juicy and tender before slicing.
Recipe Variations
This BBQ Chicken Sweet Potato Bowl is incredibly versatile. Here are some fun variations to try:
- Vegetarian Option: Replace the chicken with grilled tofu or chickpeas for a protein-packed vegetarian meal.
- Spicy Kick: Add jalapeños or a drizzle of sriracha for an extra layer of heat.
- Southwestern Twist: Incorporate black beans, corn, and diced bell peppers, seasoned with cumin and chili powder.
- Cheesy Goodness: Top your bowl with shredded cheese, like cheddar or feta, for a creamy finish.
Storage and Make-Ahead Instructions
If you want to prepare this BBQ Chicken Sweet Potato Bowl in advance, follow these tips:
- Make-Ahead: You can roast the sweet potatoes and cook the chicken a day in advance. Store them separately in airtight containers in the fridge.
- Storage: This dish keeps well in the refrigerator for up to 4 days. Just reheat before serving.
- Freezing: If needed, you can freeze the chicken and sweet potatoes separately for up to 3 months. Thaw in the fridge before reheating.
Comprehensive FAQ
Here are some frequently asked questions to help you along the way:
- Can I use other types of potatoes? Yes, regular potatoes or even butternut squash would work well.
- How do I make homemade BBQ sauce? Combine ketchup, brown sugar, vinegar, Worcestershire sauce, and spices for a quick homemade version.
- Is this recipe gluten-free? Yes, just ensure your BBQ sauce is gluten-free.
- Can I prepare this dish in a slow cooker? Absolutely! Cook the chicken on low for 4-6 hours with BBQ sauce, then serve with roasted sweet potatoes.
- What can I use instead of sweet potatoes? Carrots or parsnips can be a tasty alternative.
- How can I add more protein? Consider adding chickpeas or quinoa for extra protein content.
- Is it suitable for meal prep? Yes, this bowl is perfect for meal prep; just store the components separately.
- What are some good side dishes? A simple green salad or some cornbread would complement this dish wonderfully.
Nutrition Tips and Dietary Adaptations
This BBQ Chicken Sweet Potato Bowl is not only delicious but also packed with nutrients:
- Balanced Meal: High in protein from chicken and fiber from sweet potatoes and black beans, making it a satisfying option.
- Low-Calorie Version: Skip the avocado or use less BBQ sauce to reduce calories.
- Vegan Adaptation: Substitute chicken with grilled portobello mushrooms or tempeh and use a vegan BBQ sauce.
Essential Equipment Recommendations
To prepare this hearty bowl, you’ll need:
- Sharp Knife: For chopping sweet potatoes and prepping vegetables.
- Cutting Board: A sturdy cutting board makes prep work easier.
- Baking Sheet: For roasting the sweet potatoes to perfection.
- Skillet: A non-stick skillet works best for cooking and glazing the chicken.
Serving Suggestions
When it comes time to serve, here are some ideas to make your BBQ Chicken Sweet Potato Bowl even more delightful:
- Colorful Presentation: Layer your ingredients in a colorful bowl for an eye-catching meal.
- Extra Sauces: Provide extra BBQ sauce on the side for those who love a little more flavor.
- Fresh Herbs: Garnish with fresh herbs like cilantro or parsley for a pop of freshness.
In conclusion, this BBQ Chicken Sweet Potato Bowl is a true testament to the art of home cooking, filled with warmth, flavor, and nostalgia. Whether you’re cooking for yourself, family, or friends, this dish will surely bring smiles to the table. So, roll up your sleeves, gather those ingredients, and let’s create some delicious memories together!
BBQ Chicken Sweet Potato Bowl
Ingredients
For the Chicken
- 2 pieces boneless, skinless chicken breasts
- 0.5 teaspoon smoked paprika
- 0.5 teaspoon garlic powder
- to taste Salt and black pepper
- 0.5 cup BBQ sauce (your favorite brand or homemade)
For the Sweet Potatoes
- 2 medium sweet potatoes (peeled and diced)
- 1 tablespoon olive oil
- to taste Salt and pepper
For the Bowl
- 1 cup shredded red cabbage or slaw mix
- 1 piece avocado (sliced)
- 0.5 cup canned corn (drained)
- 0.5 cup canned black beans (rinsed)
- optional chopped fresh cilantro, lime wedges, extra BBQ sauce for drizzling
Instructions
- Preheat oven to 425°F (218°C). Toss diced sweet potatoes with olive oil, salt, and pepper. Roast for 25-30 minutes until tender and caramelized.
- Season chicken breasts with smoked paprika, garlic powder, salt, and pepper. Cook in a skillet over medium heat for 5-6 minutes per side until cooked through.
- Add BBQ sauce to the cooked chicken in the skillet, simmer until thickened, then slice and set aside.
- Divide roasted sweet potatoes into bowls. Top with sliced BBQ chicken, red cabbage, corn, black beans, and avocado slices. Garnish with cilantro, lime, and extra BBQ sauce if desired.