Welcome to the Heart of Comfort Cooking
There’s something intrinsically satisfying about a warm plate of chicken that feels like home. Whether it’s fried, roasted, or baked, chicken has a way of bringing families together. Today, I’m going to share my cherished recipe for Parmesan Crusted Chicken. It’s not just a meal; it’s a memory, a way to gather around the table and share stories. In this article, we’ll dive deep into every aspect of this dish, ensuring you have everything you need to make it your own.
Why You’ll Love This Parmesan Crusted Chicken Recipe
This isn’t just any chicken recipe. Here are five reasons why this dish will become a staple in your home:
- Quick Preparation: This delicious meal can be on the table in under 35 minutes, perfect for busy weeknights.
- Simple Ingredients: Made with pantry staples, you won’t need to run to the store for fancy items.
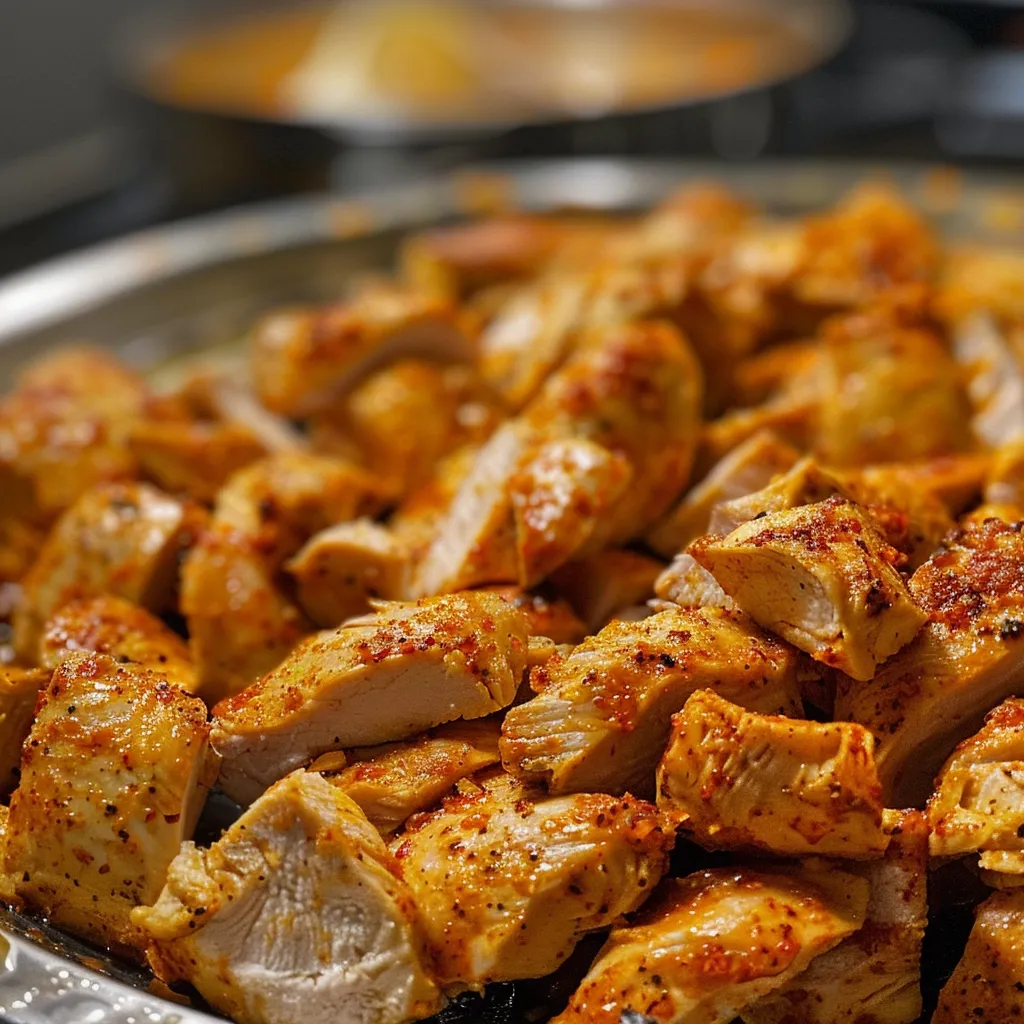
- Crispy Coating: The Parmesan creates a beautifully crispy texture that’s hard to resist.
- Versatile Pairings: Works wonderfully with side dishes like roasted vegetables, salad, or even creamy mashed potatoes.
- Family-Friendly: Kids and adults alike will enjoy the rich flavors and satisfying crunch.
Key Ingredients in This Recipe
Let’s take a closer look at what you’ll need to create this culinary delight:
- Chicken Breasts: Use boneless, skinless chicken breasts for ease and quick cooking.
- Parmesan Cheese: Freshly grated Parmesan gives the best flavor and texture.
- Breadcrumbs: For added crunch; you can use panko for an extra crispy finish.
- Eggs: These will help the coating stick to the chicken.
- Seasonings: Plenty of salt, pepper, and your favorite herbs to elevate the flavor.
What Type of Parmesan Cheese Works Best?
When choosing Parmesan cheese, consider the following:
- Freshly Grated: Always opt for freshly grated Parmesan over pre-packaged for the best flavor.
- Age Matters: Aged Parmesan, aged for at least 12 months, will offer deeper flavors.
- Grana Padano: If you can’t find Parmesan, Grana Padano is a great substitute.
Can You Make This Recipe Gluten-Free?
Absolutely! Here are some simple substitutions:
- Gluten-Free Breadcrumbs: Use gluten-free breadcrumbs or crushed rice crackers.
- Almond Flour: This can also be used as a coating for a gluten-free option.
Tips for Making the Best Parmesan Crusted Chicken
To ensure your chicken turns out perfectly every time, keep these expert tips in mind:
- Pat the Chicken Dry: This helps the coating adhere better, ensuring a crispy finish.
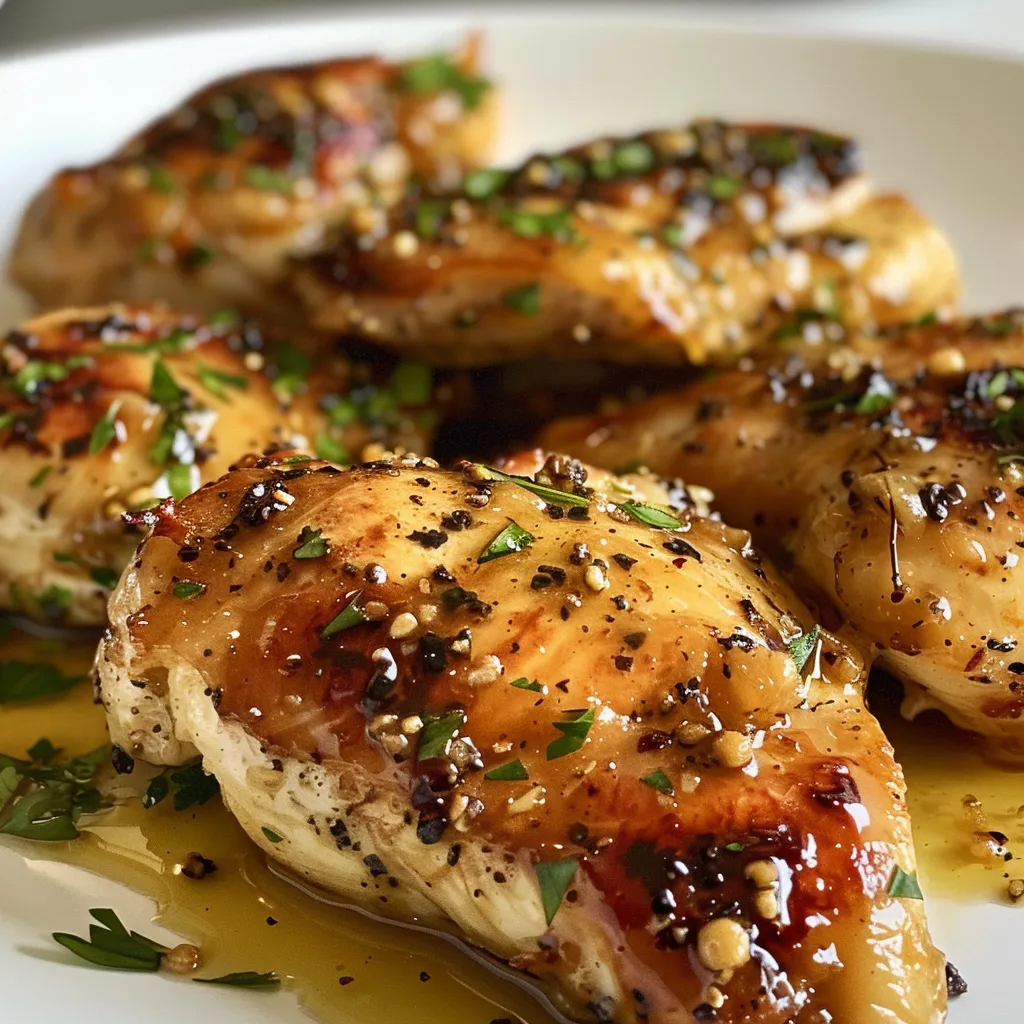
- Use a Meat Thermometer: Aim for an internal temperature of 165°F for perfectly cooked chicken.
- Let It Rest: Allow the chicken to rest for a few minutes after cooking for juiciness.
- Don’t Crowd the Pan: Cook in batches if necessary to avoid steaming the chicken.
- Experiment with Seasonings: Feel free to add garlic powder, paprika, or Italian herbs to the coating for extra flavor.
Common Mistakes and Troubleshooting
Even the best cooks make mistakes! Here’s how to avoid some common ones:
- Underseasoning: Always taste your coating mixture before applying; seasoning is key!
- Overcooking: Watch the time, as chicken can dry out quickly if left too long in the oven.
- Inconsistent Coating: Ensure an even coat of egg and breadcrumbs for uniform cooking.
Variations on Parmesan Crusted Chicken
Get creative with these delicious variations:
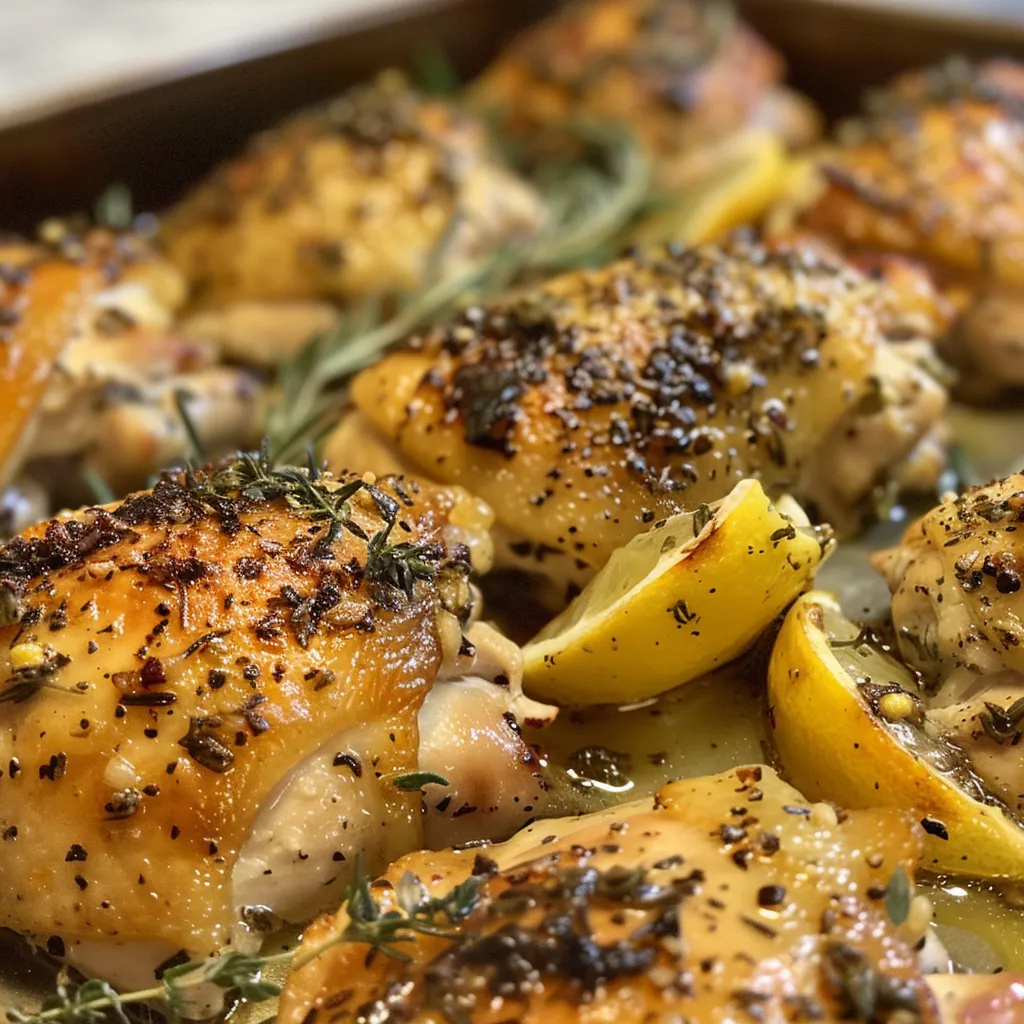
- Herb-Infused: Add chopped fresh herbs like parsley or basil to the breadcrumb mixture.
- Spicy Twist: Mix in crushed red pepper flakes for a kick of heat.
- Cheesy Additions: Incorporate mozzarella or cheddar cheese for a creamy texture.
- Vegetable Coating: Try adding finely chopped spinach or kale to the breadcrumbs for added nutrition.
Storage and Make-Ahead Instructions
If you want to prepare this dish ahead of time, here’s how to store it:
- Refrigeration: Store cooked chicken in an airtight container for up to 3 days.
- Freezing: You can freeze the uncooked, breaded chicken for up to 2 months. Just bake from frozen, adding a few extra minutes to the cooking time.
Frequently Asked Questions
Here are some common questions answered:
- Can I use chicken thighs instead of breasts? Yes, just adjust the cooking time as thighs may take longer.
- What can I serve with Parmesan Crusted Chicken? Mashed potatoes, green beans, or a simple side salad pair wonderfully.
- Can I make this recipe in advance? Yes, you can prepare the chicken and coat it a few hours before cooking.
- How do I keep the chicken crispy? Avoid covering it after baking, as steam can make it soggy.
- Is it necessary to marinate the chicken? No, but marinating can enhance flavor and tenderness.
- What’s the best way to reheat leftovers? Reheat in the oven for the best texture, rather than the microwave.
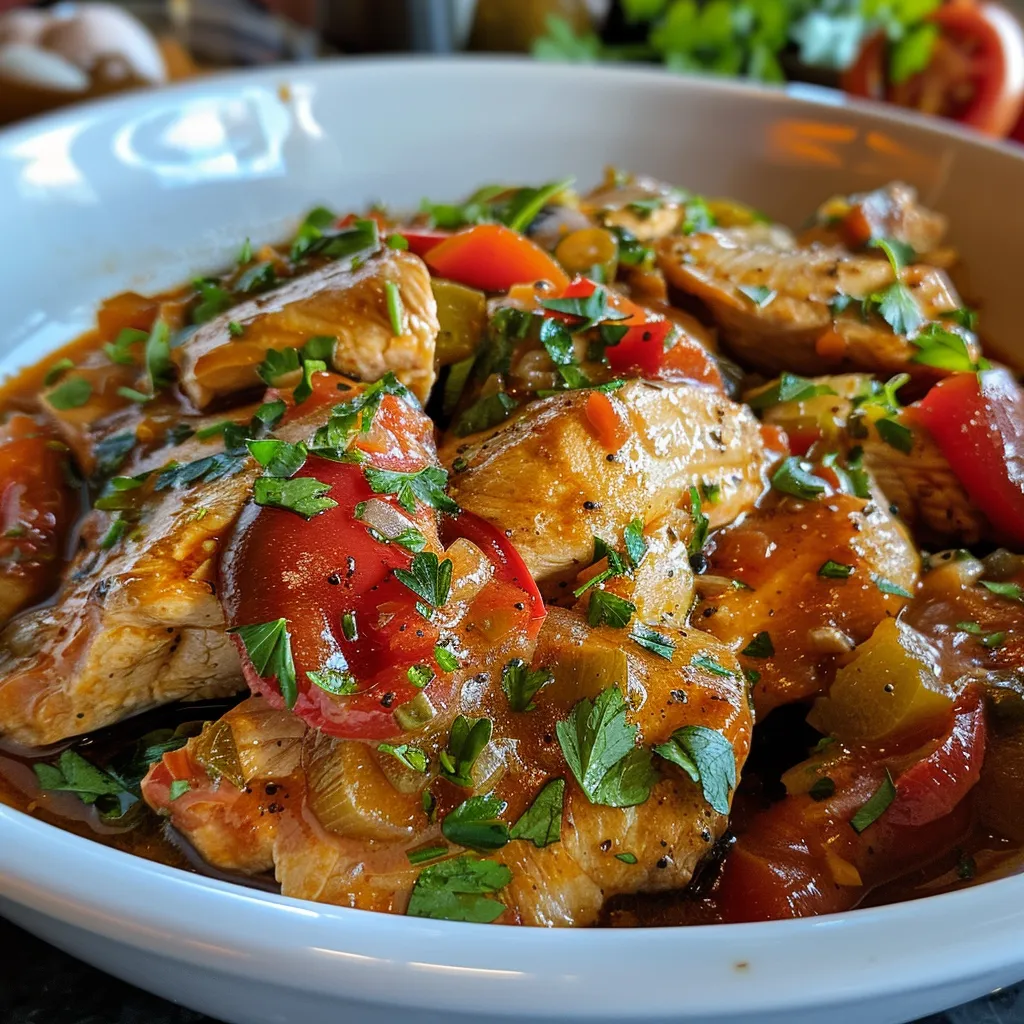
- Can I add vegetables to the dish? Absolutely! You can add veggies like cherry tomatoes or bell peppers alongside the chicken.
- Is this recipe suitable for kids? Yes, the flavors and textures are typically kid-friendly!
Nutritional Tips and Dietary Adaptations
For those watching their diets, consider these adaptations:
- Low-Calorie Option: Use skinless chicken breasts and a light spray of cooking oil instead of butter.
- High-Protein Version: Pair with a side of quinoa or lentils for added protein.
- Dairy-Free Substitute: Use nutritional yeast instead of cheese for a dairy-free version.
Equipment Recommendations
Here are a few kitchen tools that will help you along the way:
- Meat Thermometer: Essential for ensuring your chicken is cooked to perfection.
- Mixing Bowls: Great for combining your breadcrumbs and seasonings.
- Baking Sheet: A heavy-duty baking sheet will ensure even cooking.
- Cooling Rack: Place your chicken on a rack while baking for optimal crispiness.
Serving Suggestions
Finally, let’s talk about serving. Here are a few ideas to make your meal complete:
- Fresh Salad: A simple arugula salad with lemon vinaigrette balances the richness of the chicken.
- Roasted Vegetables: Carrots, zucchini, and bell peppers roasted with olive oil make for a hearty side.
- Classic Mashed Potatoes: Creamy and buttery mashed potatoes never go out of style.
- Garlic Bread: A side of garlic bread can soak up any delicious juices!
As you dive into making this Parmesan Crusted Chicken, remember that cooking is about love and connection. So roll up your sleeves, gather the family, and enjoy the process. May your kitchen always be filled with warmth, laughter, and the aroma of good food. Happy cooking!
Therecipemom
Ingredients
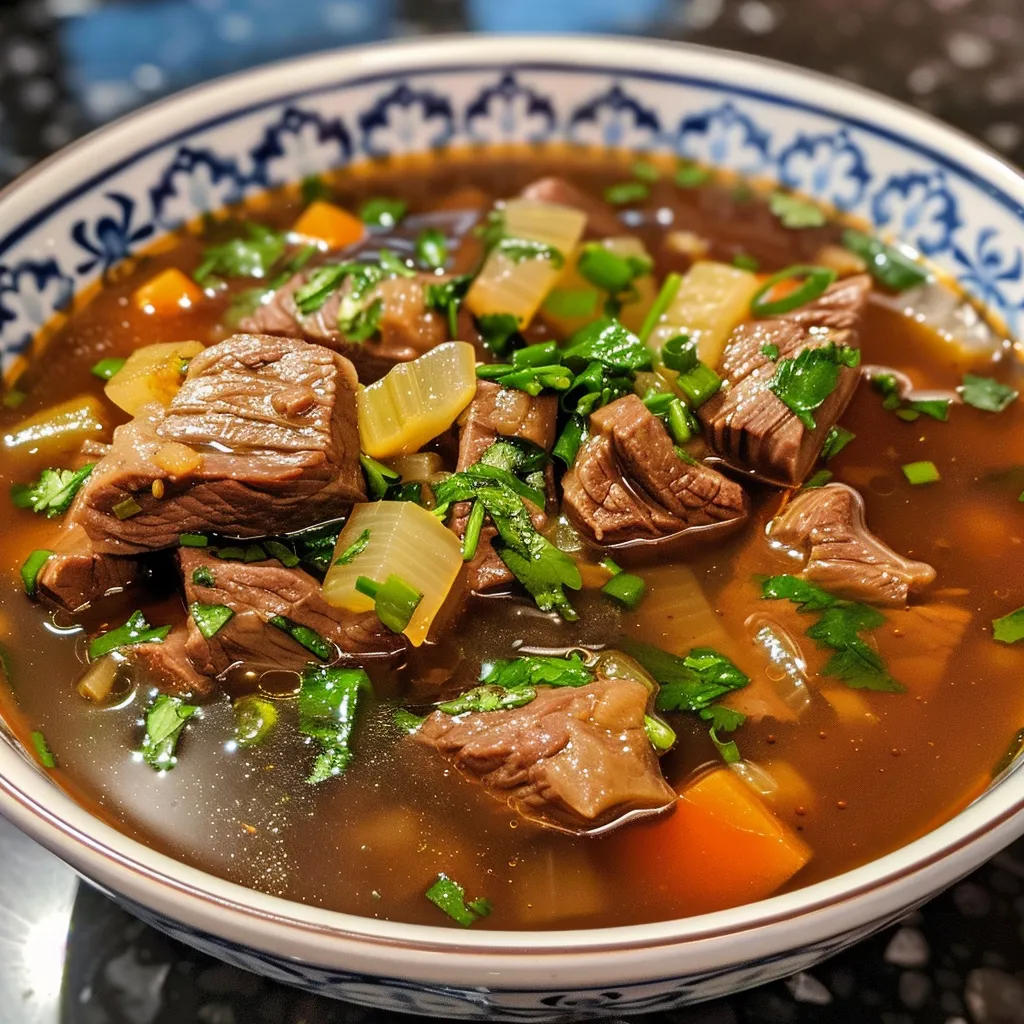
Dish TypeSoup
- 1 lb Beef (cubed)
- 4 cups Beef broth
- 2 carrots Carrots (chopped)
- 1 onion Onion (diced)
- 2 cloves Garlic (minced)
- 1 tbsp Olive oil
Instructions
- Heat olive oil in a large pot over medium heat.
- Sauté onions and garlic until fragrant.
- Add beef cubes and cook until browned.
- Pour in beef broth, add carrots, and simmer for 45 minutes.
- Season with salt and pepper to taste before serving.