The Joy of Cooking: Crispy Baked Panko Chicken
Welcome to a culinary adventure that transforms ordinary evenings into something special. The magic of Crispy Baked Panko Chicken lies in its simplicity, bringing together fresh ingredients and a rustic touch that feels like home. This dish is perfect for family gatherings, cozy weeknight dinners, or any occasion where comfort food is a must. Dive into the warmth of this recipe, and let’s celebrate the joys of cooking together.
Why You’ll Love This Recipe
This dish is more than just chicken; it’s about creating memories and sharing love through food. Here are five reasons you’ll adore this recipe:
- Quick Preparation: With just a few simple steps, you can have a delightful meal ready in no time.
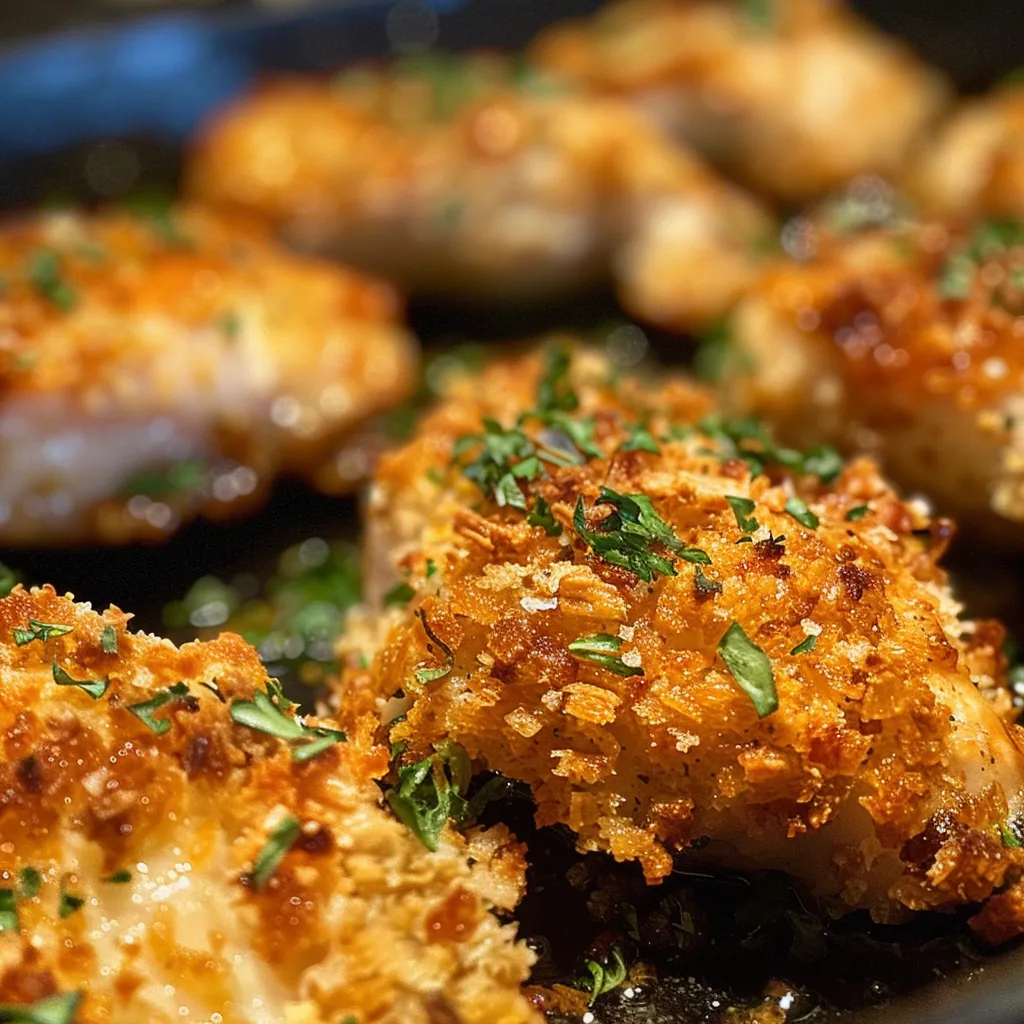
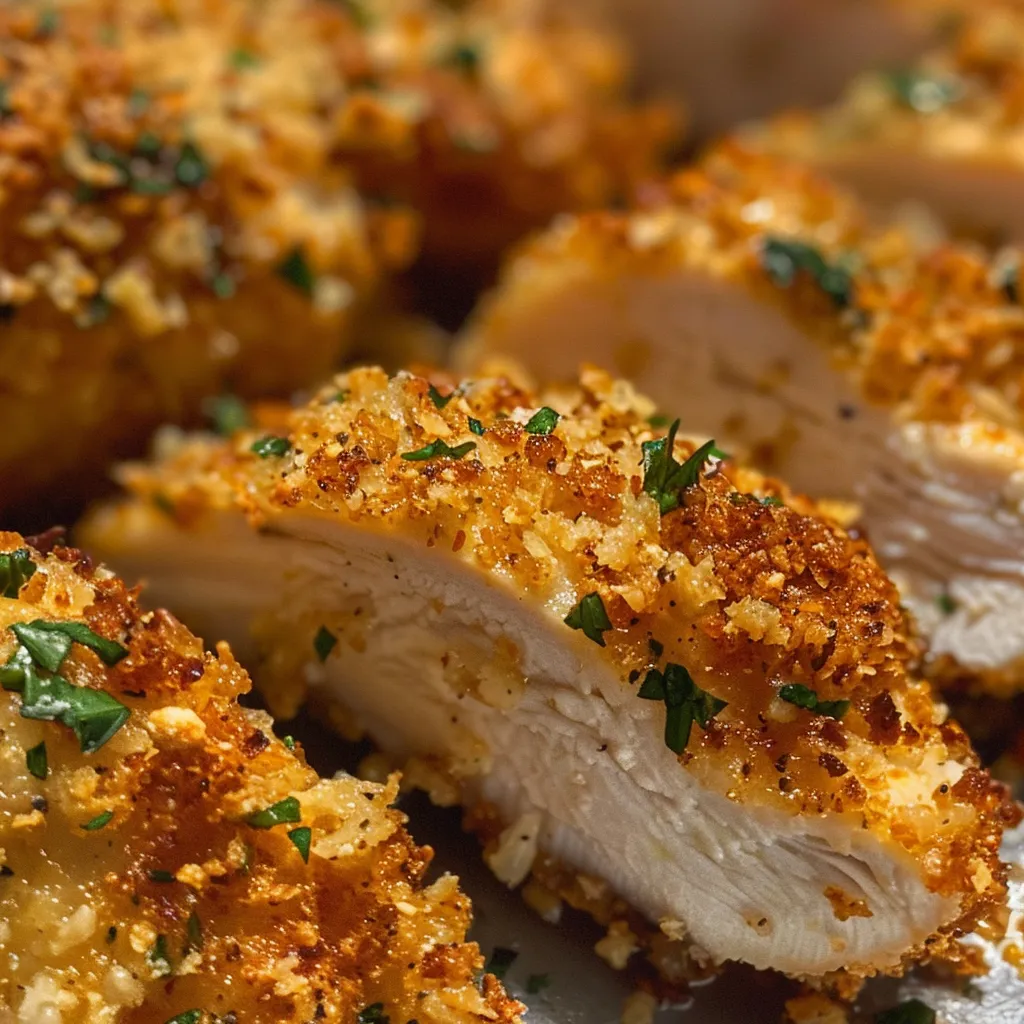
- Crunchy Breading: The panko coating delivers a satisfying crunch that elevates the experience of eating chicken.
- Versatile Dish: This recipe is adaptable, allowing you to swap ingredients and make it your own.
- Healthy Option: Baking instead of frying reduces fat while keeping the flavor intact.
- Family-Friendly: Kids and adults alike will enjoy this dish, making it perfect for family dinners.
Ingredients Breakdown
Gathering the right ingredients is the first step towards creating a delicious dish. Here’s what you’ll need for your baked panko chicken, along with some thoughtful substitutions:
- Chicken Breast: Use about 1.5 pounds of large chicken breasts, cut into tenders. If you prefer dark meat, thighs work wonderfully too.
- Panko Breadcrumbs: These Japanese-style breadcrumbs offer a light, crispy texture. For a gluten-free version, substitute with almond flour or crushed cornflakes.
- Mayonnaise: Acts as a binder for the breadcrumbs. You can replace it with Greek yogurt for a healthier twist.
- Dijon Mustard: Adds a zesty flavor; regular mustard can be a good alternative.
- Seasonings: Salt, pepper, garlic powder, and paprika bring out the chicken’s natural flavor.
Step-by-Step Instructions
Let’s get cooking! Follow these steps for a perfect Crispy Baked Panko Chicken:
- Preheat your oven to 425°F (220°C). Prepare a baking sheet by lining it with parchment paper or lightly greasing it.
- In a bowl, mix together the mayonnaise and Dijon mustard. This creamy base will help the breadcrumbs stick.
- In a separate bowl, combine the panko breadcrumbs and your chosen seasonings.
- Dip each chicken tender into the mayonnaise mixture, allowing any excess to drip off.
- Coat the chicken in the panko mixture, pressing gently to ensure an even layer.
- Arrange the coated chicken tenders on the prepared baking sheet, spacing them out for even cooking.
- Bake in the preheated oven for 20-25 minutes, or until golden brown and cooked through. An internal temperature of 165°F (74°C) is ideal.
- Let the chicken rest for a few minutes before serving. This helps keep it juicy!
Perfect Pairings: Sauce and Topping Ideas
To elevate your meal, consider these delicious pairings:
- Honey Mustard Sauce: A sweet and tangy complement to the crispy chicken.
- Buffalo Sauce: For those who enjoy a spicy kick.
- Herbed Yogurt Dip: A cool and fresh option that balances the crunch.
- Lemon Wedge: A squeeze of fresh lemon adds brightness and zing.
Storage and Reheating Tips
If you have leftovers (though I doubt it!), here’s how to store and revive your baked panko chicken:
- Storage: Place cooled chicken in an airtight container in the fridge for up to 3 days.
- Freezing: For longer storage, freeze the cooked chicken in a single layer on a baking sheet, then transfer to a freezer-safe bag.
- Reheating: To maintain the crispiness, reheat in the oven at 350°F (175°C) for about 10-15 minutes.
Pro Tips for Perfect Baked Chicken
Here are some expert insights to ensure your dish turns out flawlessly:
- Don’t Skip the Resting Time: Allowing the chicken to rest after baking helps retain moisture.
- Use Fresh Ingredients: Fresh herbs and spices enhance flavor significantly.
- Keep an Eye on Cooking Time: Ovens can vary, so check your chicken a few minutes early.
- Experiment with Flavors: Try adding grated Parmesan cheese to the panko for extra richness.
- Use a Meat Thermometer: This ensures your chicken is perfectly cooked without drying out.
- Make it a Family Affair: Get the kids involved in the breading process for fun and bonding.
Common Mistakes and Troubleshooting
Cooking should be a joyful experience, but sometimes things don’t go as planned. Here are common pitfalls and how to avoid them:
- Too Dry Chicken: Make sure not to overbake; use a meat thermometer for accuracy.
- Soggy Breading: Ensure the chicken is well-coated and avoid overcrowding the baking sheet.
- Lack of Flavor: Don’t skimp on the seasonings; they are essential for a tasty outcome.
Recipe Variations to Try
If you’re in the mood to switch things up, consider these delicious variations:
- Parmesan Crusted Chicken: Mix grated Parmesan with panko for a cheesy twist.
- Spicy Chipotle Chicken: Add chipotle powder to the seasoning mix for a smoky heat.
- Asian-Inspired Chicken: Substitute soy sauce for mayonnaise and add sesame seeds to the panko.
- Herbed Lemon Chicken: Incorporate fresh herbs, like thyme and rosemary, into the breadcrumb mixture.
Nutrition Tips and Dietary Adaptations
This recipe can be adjusted to fit various dietary needs:
- Gluten-Free: Use gluten-free panko or almond flour for the coating.
- Low-Calorie: Substitute mayonnaise with Greek yogurt or omit it entirely for a lighter version.
- Keto-Friendly: Opt for crushed pork rinds instead of panko for a low-carb alternative.
Equipment Recommendations
Having the right tools makes cooking a breeze:
- Meat Thermometer: Essential for checking doneness without cutting into the chicken.
- Baking Sheet: A good, sturdy baking sheet is key for even cooking.
- Mixing Bowls: Having a few different sizes helps when preparing multiple ingredients.
Serving Suggestions
When it comes to serving your Crispy Baked Panko Chicken, think about these delightful accompaniments:
- Steamed Vegetables: Broccoli, green beans, or carrots make a healthy side.
- Mashed Potatoes: Creamy mashed potatoes pair beautifully with the crispy chicken.
- Simple Salad: A fresh garden salad adds a refreshing contrast to the meal.
Frequently Asked Questions (FAQs)
Here are some common questions about this recipe:
- Can I use frozen chicken? Yes, but make sure it’s fully thawed before cooking.
- How do I keep the panko from falling off? Ensure the chicken is well-coated in the mayonnaise mixture before breading.
- What if I don’t have Dijon mustard? Regular mustard can be used in its place.
- Can I bake chicken thighs instead? Absolutely! Just adjust the cooking time as thighs may take a bit longer.
- Is it possible to use skin-on chicken? Yes, skin-on will add even more flavor and crunch!
- Can I make this ahead of time? Yes, you can prepare and coat the chicken earlier in the day, then bake when ready to serve.
- How do I store leftovers? Store in an airtight container in the fridge for up to three days.
- Can I grill these instead? While this recipe is designed for baking, you can grill them using a grill mat.
In conclusion, cooking is more than just a task; it’s a cherished ritual that connects us with our roots and loved ones. I hope this Crispy Baked Panko Chicken recipe brings joy to your table, just as it has to mine. Remember, it’s not about perfection; it’s about the love and care you put into every bite. Happy cooking!
Crispy Baked Panko Chicken
Ingredients
Main
- 4 pieces boneless, skinless chicken breasts (cut into strips)
- 1 cup panko bread crumbs
- 1 cup all-purpose flour
- 2 eggs large eggs (beaten)
- 1 teaspoon paprika
- 1 teaspoon garlic powder
- 1 teaspoon salt
- 1/2 teaspoon black pepper
- 2 tablespoons olive oil (for brushing)
Instructions
- Preheat oven to 400°F (200°C). Line a baking sheet with parchment paper.
- Mix panko, paprika, garlic powder, salt, and pepper in a shallow dish.
- Dredge chicken strips in flour, then dip in beaten eggs, and coat with panko mixture.
- Place coated chicken on baking sheet and brush with olive oil.
- Bake for 20-25 minutes until golden and cooked through.