
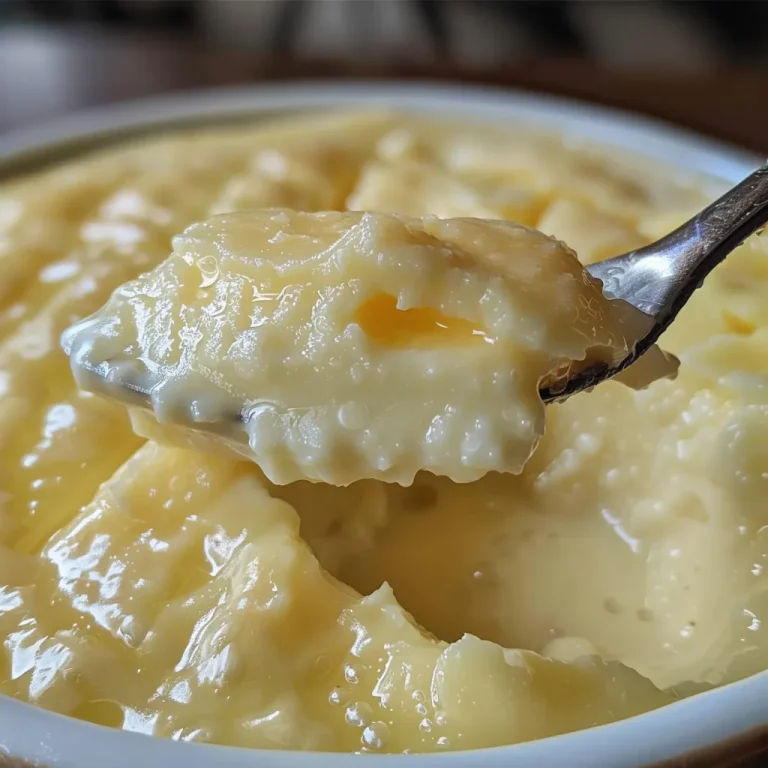
Discover the Comfort of Homemade Vanilla Pudding
Ah, vanilla pudding—a dessert that wraps you in warmth and nostalgia, much like a cozy blanket on a chilly evening. This creamy, dreamy pudding is not just a treat; it’s a vessel for cherished memories. Whether it’s served at family gatherings, holiday dinners, or simply enjoyed on a quiet afternoon, homemade vanilla pudding whispers sweet tales of love and care. In this guide, we’ll explore the art of crafting this classic dessert from scratch, ensuring each spoonful brings a smile.
Why You’ll Love This Recipe
- Simple Ingredients: Made with everyday items, this recipe showcases how basic ingredients can create something extraordinary.
- Creamy Texture: The combination of whole milk and egg yolks ensures a silky smooth pudding that melts in your mouth.
- Customizable: Add your favorite spices or toppings to make it your own, whether it’s a dash of cinnamon or a handful of fresh berries.
- Healthier Option: Unlike store-bought versions, you control the sugar and can opt for natural sweeteners.
- Nostalgic Comfort: Each bite evokes memories of home and warmth, making it more than just a dessert—it’s a tradition.
Ingredients Breakdown
Before we dive into the cooking, let’s take a closer look at the ingredients that make this pudding shine.
- 2 cups whole milk: Provides that creamy base. For a lighter version, you can substitute with almond or oat milk.
- 1/2 cup granulated sugar: Sweetens the pudding. Feel free to use coconut sugar or honey for a different flavor profile.
- 3 tablespoons cornstarch: Acts as a thickening agent, giving the pudding its luscious texture.
- 1/4 teaspoon salt: Enhances the overall flavor, balancing the sweetness.
- 3 large egg yolks: Richens the pudding and helps achieve that silky smooth consistency.
- 2 tablespoons unsalted butter: Adds richness and a deeper flavor.
- 2 teaspoons pure vanilla extract: The star ingredient! For an extra treat, use vanilla bean paste for flecks of real vanilla.
Instructions to Create Your Pudding
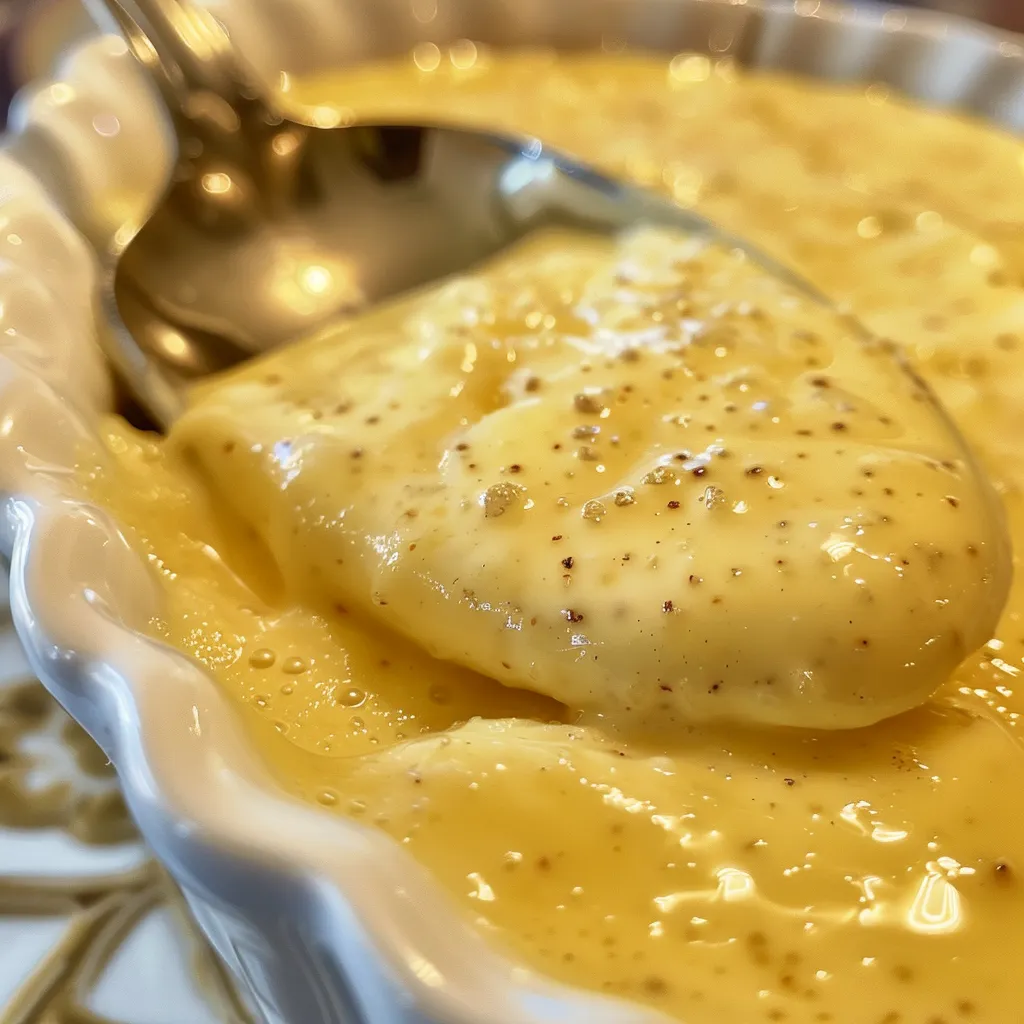
Now that we have our ingredients ready, let’s get cooking! Follow these steps for a flawless pudding.
- In a medium saucepan, whisk together the sugar, cornstarch, and salt until well combined.
- Add the milk and whisk until smooth, ensuring there are no lumps.
- Place the saucepan over medium heat and cook, stirring constantly. Watch closely as the mixture begins to thicken and comes to a gentle boil, about 8-10 minutes.
- In a small bowl, lightly beat the egg yolks to prepare them for tempering.
- Slowly add about 1/2 cup of the hot milk mixture to the egg yolks, whisking constantly to prevent the eggs from scrambling.
- Pour the tempered egg mixture back into the saucepan, whisking continuously to incorporate.
- Continue to cook over medium heat, stirring constantly, until the pudding thickens and coats the back of a spoon, about 2-3 additional minutes.
- Remove from heat and stir in the butter and vanilla extract until fully melted and combined.
- For a smooth finish, pour the pudding through a fine-mesh strainer into a bowl to catch any lumps.
- Cover the surface with plastic wrap, pressing it directly onto the pudding to prevent a skin from forming.
- Refrigerate for at least 2 hours until completely chilled and set.
- Serve cold, optionally topped with whipped cream or fresh berries for an extra touch.
Pro Tips for Perfecting Your Pudding
Here are some expert insights that will elevate your vanilla pudding game.
- Use Fresh Ingredients: Fresh milk and pure vanilla extract make a noticeable difference in flavor.
- Whisk Constantly: Stirring helps prevent the pudding from sticking to the bottom of the pan and ensures even cooking.
- Don’t Rush the Cooling: Allowing the pudding to chill thoroughly is key to achieving the right texture.
- Experiment with Flavors: Consider adding a pinch of nutmeg or a splash of bourbon for a unique twist.
- Check Consistency: If your pudding seems too thin, continue cooking it a little longer until it thickens to your liking.
- Use a Double Boiler: For a gentler heat, you can use a double boiler which helps in preventing the eggs from scrambling.
- Presentation Matters: Serve in beautiful dishes or jars for a rustic touch that enhances the experience.
- Warm it Up: If you prefer a warm pudding, simply serve it straight from the pot, though it may thicken more as it cools.
Common Mistakes & Troubleshooting
Even the most seasoned cooks can face challenges. Here’s how to avoid common pitfalls.
- Scrambled Eggs: Ensure you temper the egg yolks properly by gradually adding hot milk to them before mixing back in.
- Too Runny: If your pudding doesn’t thicken, it may need more cooking time or a bit more cornstarch.
- Skin Formation: Pressing plastic wrap directly onto the surface of the pudding is crucial to avoid a skin from forming.
- Flavor Lacking: Always taste your pudding before refrigeration. Adjust sweetness or vanilla as needed.
Delicious Variations to Try
Feel free to switch things up with these delightful variations:
- Chocolate Vanilla Pudding: Add 1/3 cup of cocoa powder to the dry ingredients for a rich chocolate twist.
- Banana Cream Pudding: Fold in sliced bananas before chilling for a fruity delight.
- Almond Vanilla Pudding: Substitute almond extract for vanilla for a nutty flavor profile.
- Berry-Infused Pudding: Mix in fresh or frozen berries just before serving for a refreshing taste.
Storage and Make-Ahead Instructions
This pudding can be made ahead of time and stored for future enjoyment.
- Refrigeration: Store covered in the refrigerator for up to 3 days. Just be sure to press plastic wrap onto the surface to prevent a skin.
- Freezing: While not recommended due to texture changes, it can be frozen for up to a month. Thaw in the refrigerator overnight before serving.
Frequently Asked Questions
Here are some common questions about homemade vanilla pudding:
- Can I use low-fat milk? Yes, but the pudding will be less creamy; whole milk is recommended for the best results.
- How do I prevent lumps? Whisking thoroughly while heating and straining the pudding at the end will help achieve a smooth texture.
- Can I use a sugar substitute? Absolutely! Just ensure your substitute measures similarly to sugar for the right sweetness.
- How long does it take to set? Allow at least 2 hours in the refrigerator for perfect results.
- Can I add spices? Definitely! Cinnamon, nutmeg, or even cardamom can add a wonderful depth to your pudding.
- Is this recipe gluten-free? Yes, as long as you use cornstarch, which is naturally gluten-free.
- What if I want a thicker pudding? Increase the cornstarch slightly or cook it a bit longer to get your desired consistency.
- Can I make this vegan? Substitute the milk with a plant-based alternative and use a vegan egg replacer for a delicious dairy-free pudding.
Nutritional Tips and Dietary Adaptations
For those looking to adapt this recipe to fit dietary needs:
- Diabetic-Friendly: Opt for natural sweeteners like Stevia or Erythritol.
- Dairy-Free: Substitute whole milk with almond or coconut milk, and use a vegan butter alternative.
- Reduced Sugar: Feel free to cut the sugar in half without compromising the pudding’s integrity.
Equipment Recommendations
Having the right tools can simplify the process:
- Medium Saucepan: A sturdy saucepan is essential for cooking over medium heat.
- Whisk: A good whisk ensures thorough mixing and prevents lumps.
- Fine-Mesh Strainer: Use this to achieve that smooth, lump-free pudding.
- Plastic Wrap: Essential for covering the pudding and preventing a skin from forming.
Serving Suggestions
Lastly, let’s talk about how to present your pudding to wow your guests:
- Classic Presentation: Serve in individual ramekins topped with whipped cream and a sprinkle of cocoa or cinnamon.
- Berry Delight: Garnish with fresh berries and mint for a refreshing touch.
- Layered Parfaits: Layer pudding with crushed cookies and whipped cream in tall glasses for a stunning dessert.
In conclusion, this creamy vanilla pudding isn’t just a delightful dessert; it’s a heartfelt way to bring comfort to your table. With its simple ingredients and easy preparation, it’s a wonderful addition to any meal or occasion. So gather your loved ones, whip up this classic, and savor the sweet memories that will surely follow. Happy cooking!
Creamy Homemade Vanilla Pudding Recipe from Scratch
Ingredients
Dairy
- 2 cups whole milk
- 1/2 cup granulated sugar
- 3 tablespoons cornstarch
- 1/4 teaspoon salt
- 3 large egg yolks
- 2 tablespoons unsalted butter
- 2 teaspoons pure vanilla extract
Instructions
- Whisk sugar, cornstarch, and salt in a saucepan.
- Add milk and whisk until smooth, then cook over medium heat until thickened and boiling, about 8-10 minutes.
- Lightly beat egg yolks, then temper by slowly adding hot milk mixture while whisking.
- Return mixture to saucepan, cook until thickened, then remove from heat.
- Stir in butter and vanilla, strain to remove lumps, then refrigerate until chilled, about 2 hours.