Discover the Heartwarming Buttermilk Chicken Tenders Recipe
Welcome to a culinary journey that will take you back to the warm embrace of home-cooked meals. Today, we’re diving into a recipe that embodies comfort and nostalgia: buttermilk fried chicken tenders. These tenders are not just a dish; they are a celebration of flavor and tradition, perfect for family gatherings and cozy dinners alike. So, grab your apron and let’s make some magic in the kitchen!
Why You Will Love This Recipe
- Unmatched tenderness: The buttermilk marinade works wonders, ensuring that your chicken tenders are juicy and tender with every bite.
- Flavorful crunch: With a perfectly seasoned flour mixture, you’ll enjoy a golden brown, crispy exterior that contrasts beautifully with the soft chicken inside.
- Simple ingredients: You don’t need fancy items; just everyday ingredients that you likely already have at home.
- Easy to customize: This recipe allows you to tweak the spices and heat levels, making it suitable for everyone at the table.
- Perfect for any occasion: Whether it’s a family dinner, a potluck, or a casual weekend meal, these tenders will always impress.
Ingredient Breakdown: What You’ll Need
Before we start cooking, let’s gather our ingredients. Here’s what you’ll need for the ultimate buttermilk fried chicken tenders:
- 2 cups buttermilk: This is the secret to tender chicken.
- 1 tablespoon hot sauce: Optional, but it adds a delightful kick.
- 1 teaspoon garlic powder: For that savory depth of flavor.
- 1 teaspoon onion powder: Enhances the overall taste.
- 1 teaspoon smoked paprika: Adds a hint of smokiness.
- 1 teaspoon salt: Essential for seasoning.
- 1/2 teaspoon black pepper: A touch of spice.
- 1 1/2 pounds chicken tenders: The star of the show!
- 2 cups all-purpose flour: For dredging.
- 1/2 cup cornstarch: Helps achieve that extra crunch.
- 1 teaspoon baking powder: For a fluffier texture.
- Vegetable oil: For frying.
Step-by-Step Instructions: How to Make Buttermilk Fried Chicken Tenders
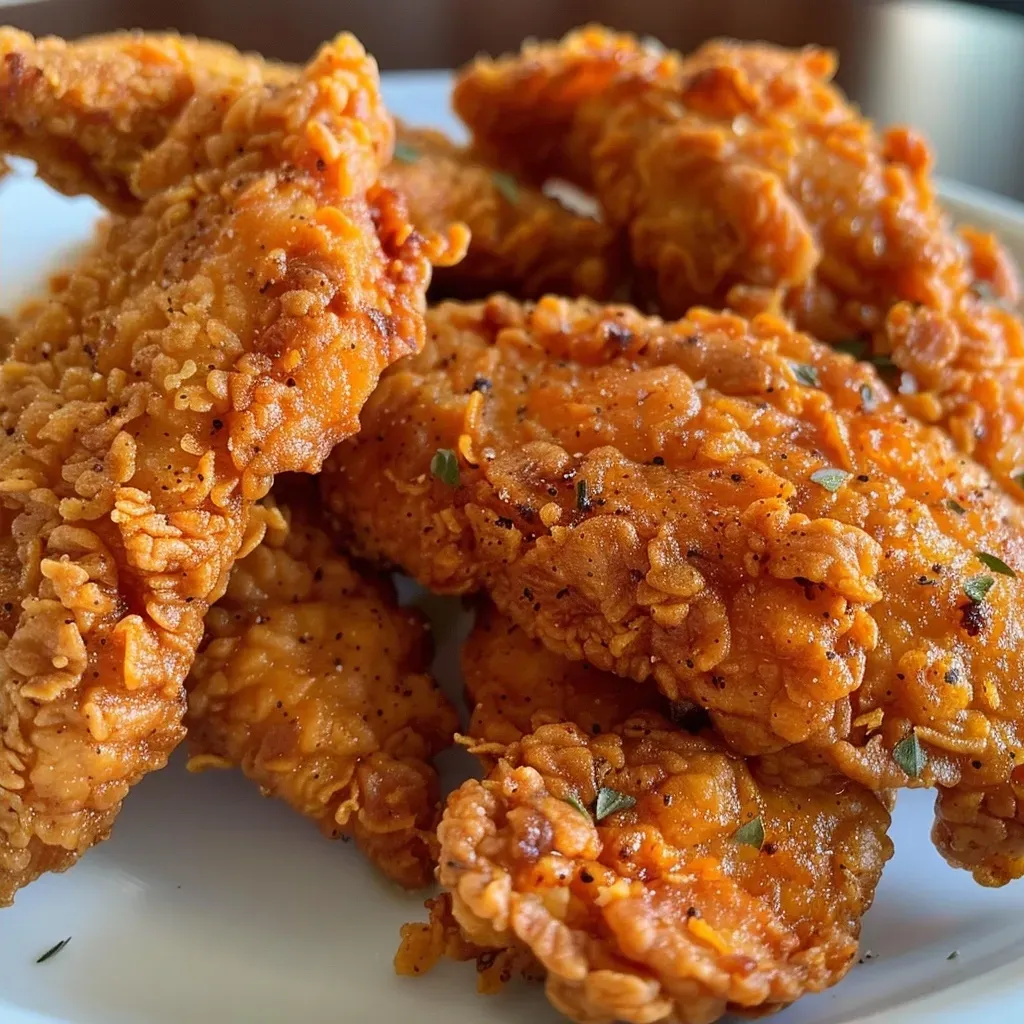
Now that we have our ingredients, let’s get cooking! Follow these steps for the best results:
Step 1: Marinate the Chicken
In a large bowl, combine the buttermilk, hot sauce (if using), garlic powder, onion powder, smoked paprika, salt, and pepper. Add the chicken tenders, making sure they’re fully submerged in the buttermilk mixture. Cover and refrigerate for at least 2 hours or overnight for the best results.
Step 2: Prepare the Flour Mixture
In another large bowl or shallow dish, whisk together the flour, cornstarch, smoked paprika, garlic powder, onion powder, cayenne (if using), salt, black pepper, and baking powder. This mixture is the key to that crispy coating.
Step 3: Set Up Your Dredging Station
Pour vegetable oil into a large, heavy skillet or Dutch oven until it’s about 2-3 inches deep. Heat the oil over medium-high heat to 350 degrees Fahrenheit. Use a thermometer to keep the temperature steady while frying.
Step 4: Dredge the Chicken
Remove the chicken from the marinade, allowing the excess liquid to drip off. Dredge each piece of chicken in the flour mixture, pressing the flour onto the chicken to ensure a thick, even coating. Let the coated chicken rest on a baking sheet for about 10 minutes. This helps the coating stick better.
Step 5: Fry the Chicken Tenders
Carefully place the chicken tenders into the hot oil in batches, ensuring not to overcrowd the pan. Fry each batch for about 4-5 minutes per side or until the chicken is golden brown and cooked through (internal temperature should reach 165 degrees Fahrenheit).
Step 6: Drain and Serve
Use a slotted spoon or tongs to remove the tenders. Place them on a wire rack set over a baking sheet to drain any excess oil. Serve hot with your favorite dipping sauces like honey mustard, ranch, or spicy ketchup. Enjoy!
Expert Tips for Perfect Chicken Tenders
- Marinate longer: For even more flavor and tenderness, try marinating the chicken overnight.
- Maintain oil temperature: Use a thermometer to ensure the oil stays at 350°F for even cooking.
- Don’t rush the dredging: Press firmly to get the flour mixture to stick well to the chicken.
- Batch fry: Fry in small batches to keep the oil temperature steady.
- Rest before serving: Let the chicken rest briefly after frying to ensure juiciness.
- Experiment with spices: Feel free to adjust the spices in the flour mixture to match your taste.
- Use high-starch potatoes: If you want to make fries alongside, high-starch potatoes crisp up beautifully.
- Pair with sides: Serve with coleslaw, mashed potatoes, or corn on the cob for a complete meal.
Common Mistakes and Troubleshooting
Even the best cooks encounter hiccups. Here are some common mistakes and how to avoid them:
- Oil too hot: If the oil is too hot, the outside will cook too fast, leaving the inside raw. Keep an eye on the temperature!
- Flour not sticking: If your coating isn’t sticking, make sure to let the chicken rest after dredging.
- Overcrowding the pan: Fry in batches to prevent temperature drops and soggy tenders.
Delicious Variations to Try
Feeling adventurous? Here are some variations to spice up your buttermilk chicken tenders:
- Spicy Buttermilk Tenders: Add more cayenne pepper or hot sauce to the marinade for an extra kick.
- Honey Butter Chicken Tenders: Drizzle with honey and melt some butter on top before serving for a sweet twist.
- Lemon Herb Chicken Tenders: Add lemon zest and fresh herbs like thyme or rosemary to the buttermilk marinade.
- BBQ Chicken Tenders: Toss the cooked tenders in your favorite BBQ sauce for a smoky flavor.
Storage and Make-Ahead Instructions
If you have leftovers (though I doubt it!), here’s how to store them:
- Refrigerate: Keep cooked chicken tenders in an airtight container in the fridge for up to 3 days.
- Freeze: For longer storage, freeze cooked tenders in a single layer, then transfer to a freezer bag for up to 3 months.
- Reheat: To reheat, bake in a preheated oven at 375°F until heated through for the best texture.
Frequently Asked Questions
- Can I use regular milk instead of buttermilk? Yes, but for best results, add a tablespoon of vinegar or lemon juice to regular milk and let it sit for 5-10 minutes.
- Can I bake these chicken tenders instead of frying? Absolutely! Bake at 400°F for about 20-25 minutes or until golden brown and cooked through.
- What dipping sauces pair well? Honey mustard, ranch, and spicy ketchup are all great options!
- How can I make these tenders gluten-free? Substitute all-purpose flour with a gluten-free flour blend.
- What is the best oil for frying? Vegetable oil, canola oil, or peanut oil are great choices for frying.
- How do I know when the chicken is cooked? Use a meat thermometer to check that the internal temperature reaches 165°F.
- Can I make the marinade ahead of time? Yes, the marinade can be prepared a day in advance and stored in the refrigerator.
- What sides go well with chicken tenders? Coleslaw, fries, or a fresh garden salad make excellent companions!
Nutrition Tips and Dietary Adaptations
For a healthier twist, consider these tips:
- Use skinless chicken: Opt for skinless chicken tenders to reduce fat content.
- Air-fry option: Use an air fryer for a lower-fat cooking method while still achieving crispiness.
- Whole wheat flour: Swap all-purpose flour for whole wheat for added fiber.
Equipment Recommendations
Here’s what you’ll need to make this recipe a success:
- Large mixing bowls: For marinating and mixing the flour.
- Thermometer: To ensure your oil is at the perfect frying temperature.
- Skillet or Dutch oven: A heavy bottomed pan is essential for even heat distribution.
- Wire rack: To drain excess oil and keep your tenders crispy.
Serving Suggestions
Once your buttermilk chicken tenders are golden brown and perfectly cooked, it’s time to serve them up!
- With dips: Offer a selection of dipping sauces for a fun and interactive meal.
- On a platter: Serve on a large platter with fresh herbs for an inviting presentation.
- With sides: Pair with classic sides like mashed potatoes, coleslaw, or a warm biscuit for a true Southern feast.
Cooking, like life, is all about connection and sharing. These buttermilk chicken tenders are sure to bring smiles and happy memories to your table. So gather your loved ones, enjoy the process, and let’s create something delicious together. Happy cooking from my kitchen to yours!
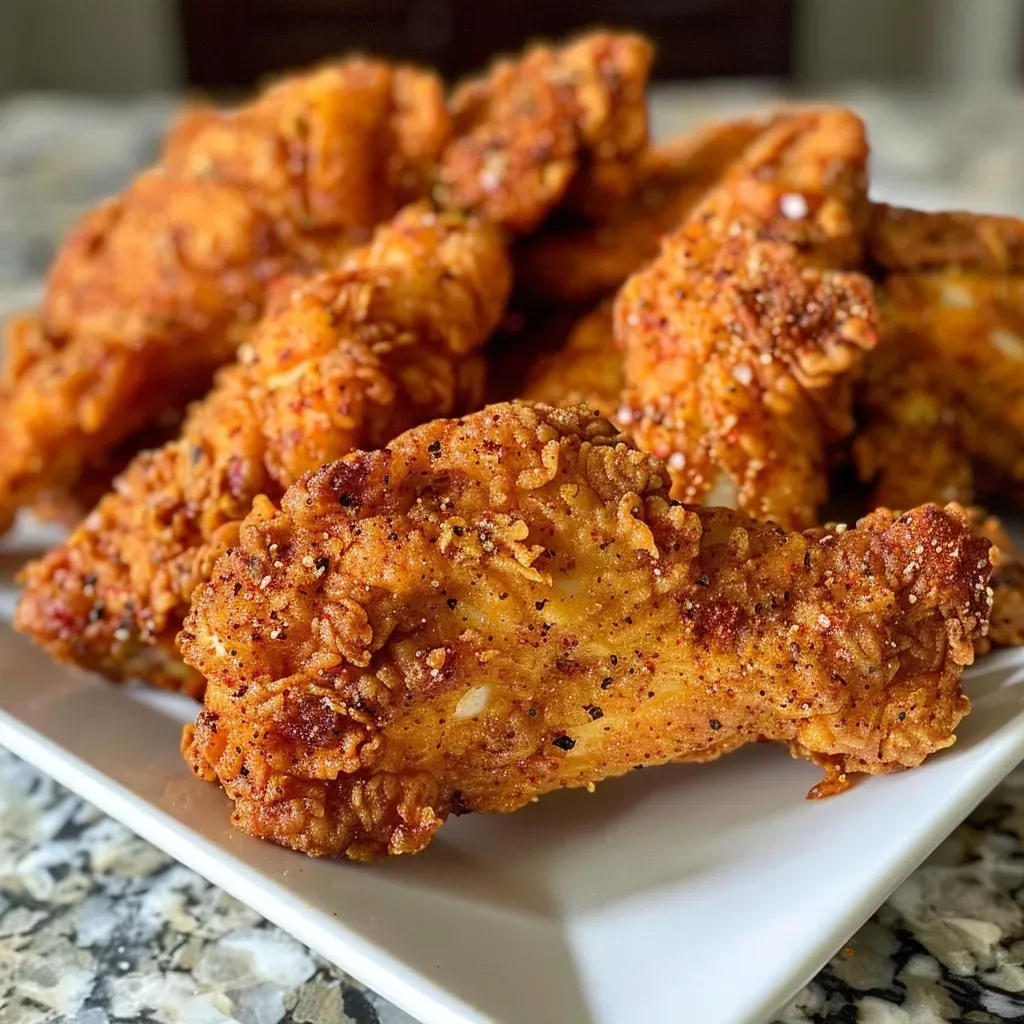
Buttermilk Fried Chicken Tenders
Ingredients
Marinade
- 2 cups buttermilk
- 1 tablespoon hot sauce (optional)
- 1 teaspoon garlic powder
- 1 teaspoon onion powder
- 1 teaspoon smoked paprika
- 1 teaspoon salt
- 1/2 teaspoon black pepper
- 1.5 pounds chicken tenders
Breading
- 2 cups all-purpose flour
- 1/2 cup cornstarch
- 1 tablespoon smoked paprika
- 1 teaspoon garlic powder
- 1 teaspoon onion powder
- 1 teaspoon cayenne pepper (optional)
- 1 teaspoon salt
- 1/2 teaspoon black pepper
- 1 teaspoon baking powder
- vegetable oil vegetable oil (for frying)
Instructions
- Combine buttermilk, hot sauce, garlic powder, onion powder, smoked paprika, salt, and pepper. Marinate chicken for at least 2 hours.
- Mix flour, cornstarch, smoked paprika, garlic powder, onion powder, cayenne, salt, black pepper, and baking powder.
- Dredge marinated chicken in flour mixture, then rest for 10 minutes.
- Heat oil to 350°F. Fry chicken in batches 4-5 minutes per side until golden and cooked through.
- Drain on wire rack and serve hot with dipping sauces.