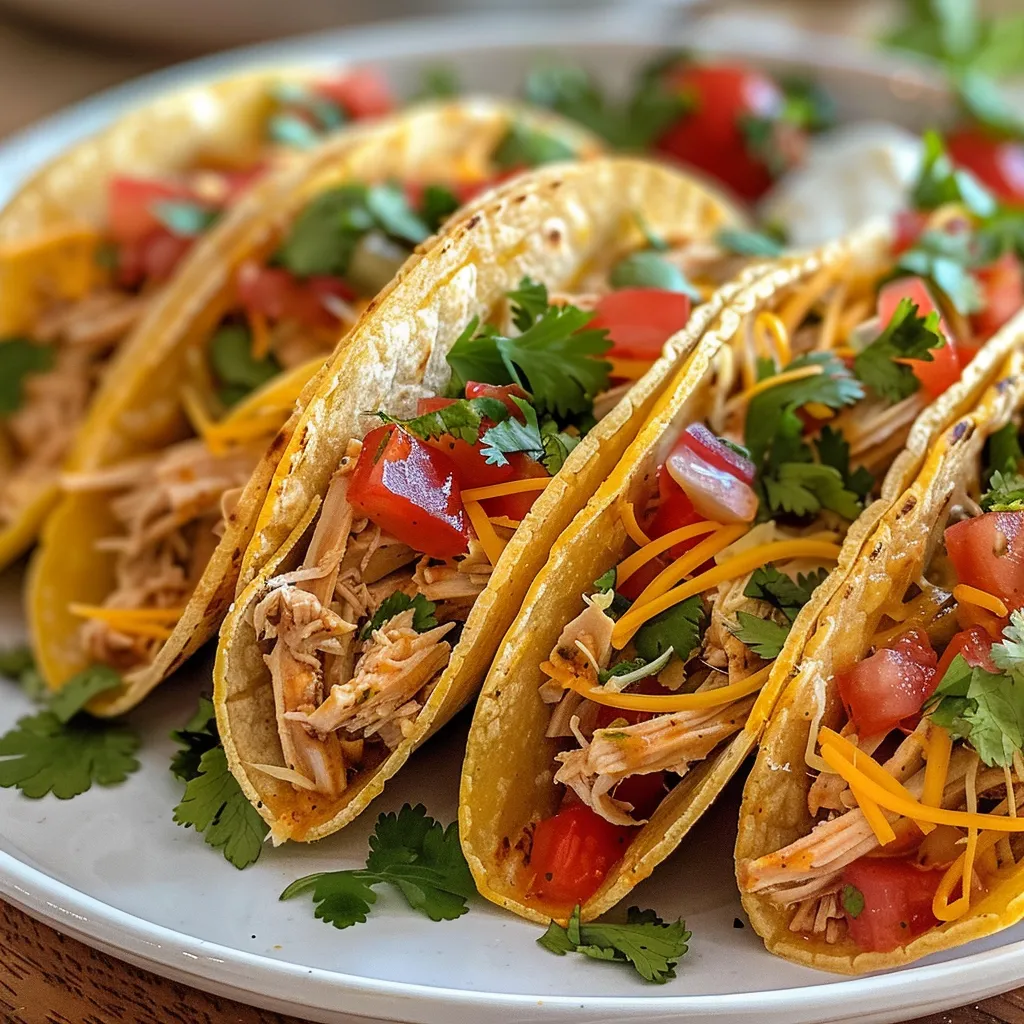
Mini Tacos That Turn Any Gathering into a Fiesta
Gather ’round, friends! If you’re looking to make a splash at your next family gathering or cozy night in, you’ve landed in the right place. These mini tacos, filled with seasoned shredded chicken and melty cheese, are not just a dish; they are an experience. Today, I’m going to walk you through the steps to create these delightful bites, ensuring your cooking journey is as enjoyable as the meal itself. Let’s dive into a world where chicken tacos reign supreme!
Why You’ll Love This Recipe
These mini tacos are more than just a tasty treat; they offer a wealth of benefits that will make them a staple in your home. Here’s what makes this recipe a must-try:
- Quick to Prepare: With a mere 30 minutes from prep to plate, you’ll have a delicious meal ready in no time.
- Kid-Friendly: These mini tacos are the perfect finger food, making them a hit with the little ones. They’ll love folding and stuffing their own tacos!
- Customizable: Whether you’re a fan of spicy salsa or mild guacamole, these tacos are a blank canvas ready for your favorite toppings.
- Perfect for Gatherings: Serving these at your next gathering will surely spark joy and laughter as everyone digs in together.
- Easy to Scale: Whether you’re cooking for two or twenty, you can easily adjust the ingredient quantities to fit your needs.
Ingredient Breakdown
Let’s take a closer look at what you’ll need to whip up these delightful mini tacos, along with some handy substitutions to accommodate dietary preferences.
- 1 lb. cooked shredded seasoned chicken breast (3-4 cups): This serves as the heart of your tacos. If you’re short on time, store-bought rotisserie chicken works beautifully!
- 8 oz. shredded colby jack cheese: A delicious melty cheese that adds creaminess. Feel free to substitute with cheddar or Monterey Jack.
- 20-24 street taco corn tortillas: These little gems are ideal for holding your fillings. You can use flour tortillas if corn isn’t your style.
- Olive oil or cooking spray: This helps crisp up the tortillas. If you’re avoiding oil, use a non-stick baking sheet.
- Sour cream: A cool, creamy topping that balances the flavors perfectly. Greek yogurt is a healthy alternative.
- Salsa: Fresh salsa adds a burst of flavor. Try pico de gallo for a fresher taste!
- Fresh chopped cilantro: This herb adds brightness to your tacos. If cilantro isn’t your favorite, consider parsley or green onions instead.
Step-by-Step Instructions
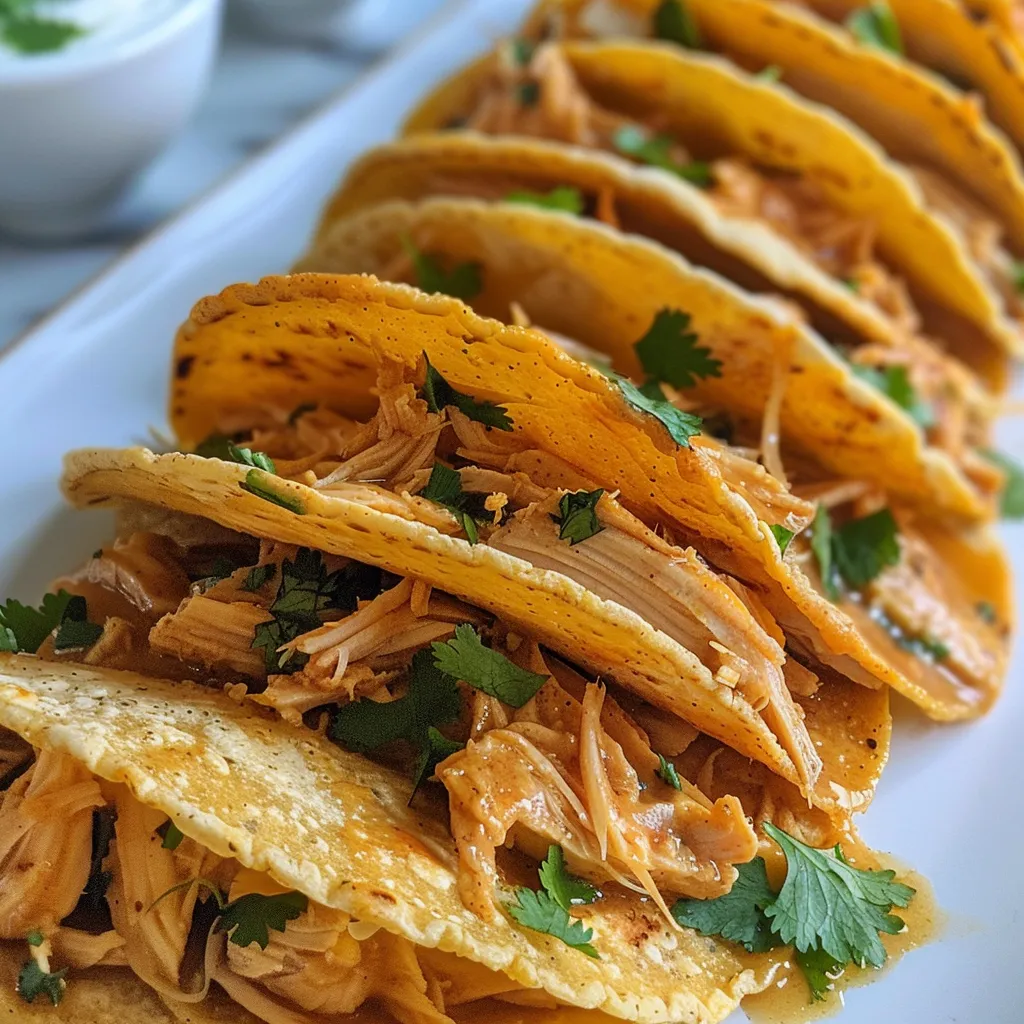
Now that you’ve gathered your ingredients, let’s get cooking! Follow these simple steps:
- Preheat your oven to 425 degrees Fahrenheit.
- Place the corn tortillas on a baking sheet, ensuring they are spread out evenly.
- Brush or spray both sides of the tortillas with olive oil to ensure they become crispy.
- Add a heaping tablespoon of shredded chicken to each tortilla and top with a generous amount of shredded cheese. You may need a second baking sheet depending on the size of yours.
- Bake the tacos for about 2 minutes, just until the cheese is melted.
- Remove from the oven and carefully fold each tortilla in half, gently pressing them together.
- Bake for an additional 12-15 minutes or until the tortillas are golden and crispy on the outside.
- Serve warm with sour cream, salsa, and freshly chopped cilantro. Enjoy the fiesta!
Expert Tips for Taco Perfection
To elevate your taco-making game, consider these pro tips:
- Don’t Overfill: Less is more! Overstuffing can lead to soggy tacos. Stick to a tablespoon of chicken and cheese.
- Use Fresh Ingredients: Fresh herbs and quality cheese make all the difference in flavor.
- Experiment with Seasonings: Spice up your chicken with taco seasoning, or even a dash of chili powder for a kick!
- Let Them Cool Slightly: Allow your tacos to cool for a couple of minutes before serving to enhance their crispiness.
- Make Ahead: Prep your fillings in advance and store them in the fridge for easy assembly later.
Common Mistakes and Troubleshooting
Even the best cooks can run into a few hiccups. Here’s how to avoid common pitfalls:
- Soggy Tacos: If your tortillas are soggy, make sure to use enough oil and bake until they’re golden brown.
- Cheese Not Melting: Ensure your oven is preheated adequately. A hot oven makes all the difference!
- Filling Falling Out: Gently press the folded tortilla together before baking to secure the filling.
Variations to Try
Feeling adventurous? Here are some tasty variations to keep things exciting:
- Spicy Chicken Tacos: Add jalapeños to your filling for a spicy kick!
- Veggie Tacos: Swap the chicken for grilled vegetables and black beans for a meatless option.
- Buffalo Chicken Tacos: Mix shredded chicken with buffalo sauce for a zesty twist.
- Breakfast Tacos: Fill with scrambled eggs, cheese, and avocado for a hearty brunch option.
Storage and Make-Ahead Instructions
Looking to prepare ahead of time? Here’s how to store and reheat your mini tacos:
- Storage: Keep leftovers in an airtight container in the fridge for up to 3 days.
- Reheating: For crispy tacos, reheat in the oven at 350 degrees for 10 minutes.
- Freezing: You can freeze unbaked tacos. Just assemble them, wrap well, and store for up to 2 months. Bake directly from frozen, adding a few extra minutes to the time.
Nutrition Tips and Dietary Adaptations
Looking to make your mini tacos a bit healthier? Consider these tips:
- Lean Protein: Use grilled chicken breast or turkey for a lighter alternative.
- Low-Fat Cheese: Opt for low-fat cheese to cut down on calories without sacrificing taste.
- Whole Wheat Tortillas: Choose whole wheat or gluten-free tortillas for a more nutritious option.
Equipment Recommendations
Here’s what you’ll need to make these mini tacos:
- Baking Sheet: A sturdy, non-stick baking sheet is essential for achieving crispiness.
- Cooking Brush: For even oil distribution.
- Mixing Bowl: To combine your filling ingredients seamlessly.
Serving Suggestions
To create a festive taco night, consider serving your mini tacos with:
- Chips and Salsa: A classic appetizer that pairs perfectly.
- Guacamole: Creamy, delicious guacamole for dipping.
- Mexican Rice: A side of flavorful rice rounds out the meal beautifully.
Frequently Asked Questions
Got questions? Here are answers to some of the most common queries:
- Can I use frozen chicken? Absolutely! Just ensure it’s fully cooked before shredding.
- What if I don’t have corn tortillas? Flour tortillas work just as well, but they won’t have that authentic taco taste.
- How do I make these tacos spicier? Add diced jalapeños or a dash of hot sauce to your chicken mixture!
- Can I prepare these tacos in advance? Yes! Assemble them and store them until you’re ready to bake.
- What are some good toppings? Try avocado, diced tomatoes, or shredded lettuce for extra flavor and crunch.
- Can these be made vegetarian? Yes, substitute chicken with black beans or grilled vegetables.
- How long do leftovers last? They can be stored in the fridge for up to 3 days.
- Can I freeze the tacos? Yes, freeze unbaked tacos and bake them directly from frozen!
Final Thoughts
There you have it, friends! A comprehensive guide to making mini tacos that are not only delicious but also full of heart. Whether you’re cooking for a crowd or enjoying a quiet evening at home, these little bites will surely bring everyone to the table. Cooking is about love, patience, and sharing joy with others, and I’m thrilled to share this recipe with you. Enjoy every bite, and thank you for letting me be a part of your culinary adventure!
Mini Tacos
Ingredients
Main
- 1 lb cooked shredded seasoned chicken breast (see notes for cooking options)
- 8 oz shredded colby jack cheese
- 20-24 tortillas street taco corn tortillas
- olive oil or cooking spray
- sour cream
- salsa
- fresh chopped cilantro
Instructions
- Preheat oven to 425°F (220°C). Place tortillas on a baking sheet and brush or spray with olive oil.
- Add chicken and cheese to tortillas, then bake for 2 minutes until cheese melts. Fold tortillas in half.
- Bake for another 12-15 minutes until crispy. Serve with sour cream, salsa, and cilantro.