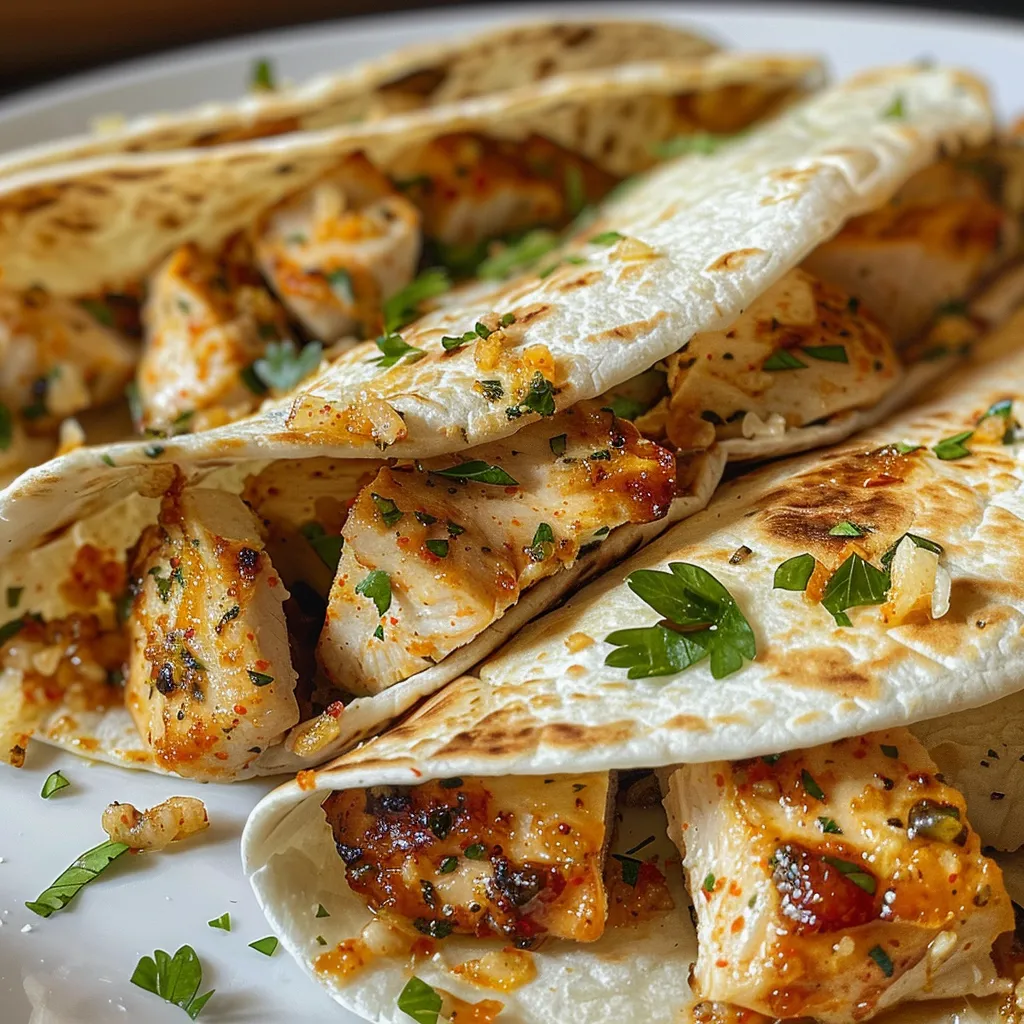
Gather ‘Round for the Ultimate Garlic Butter Chicken Wraps
Welcome to a culinary journey where comfort food meets simple ingredients! These Garlic Butter Chicken Wraps are not just a meal; they are a memory waiting to be made. Inspired by family dinners and the warm, inviting aromas that fill a home, this recipe is designed for those who cherish food that nourishes both body and soul. Let’s dive into the heart of this dish and discover how to create wraps that will have your loved ones gathering ’round the table!
Why You’ll Love This Recipe
These Garlic Butter Chicken Wraps are perfect for any occasion, whether it’s a cozy night in or a lively family gathering. Here are just a few reasons why this recipe will become a staple in your kitchen:
- Quick & Easy: Ready in under 30 minutes, perfect for busy weeknights when you crave something hearty without spending hours in the kitchen.
- Comfort Food: The combination of tender chicken, rich garlic butter, and gooey melted cheese wrapped in soft tortillas creates a warm embrace for your taste buds.
- Customizable: With endless variations, you can tailor the wraps to suit your family’s tastes—swap in your favorite veggies or cheeses!
- Great for Leftovers: This recipe is an excellent way to use up leftover chicken or rotisserie chicken, transforming simple ingredients into something special.
- Family-Friendly: Kids and adults alike will love biting into these flavorful wraps, making them a hit for family dinners.
Essential Ingredients Breakdown
Let’s take a closer look at what you’ll need to create these delicious wraps and some substitutions to consider if you’re missing an ingredient:
- Chicken breasts: Use 2 large chicken breasts, cut into strips. For a quicker option, rotisserie chicken works beautifully.
- Tortillas: 4 large flour tortillas or wraps; corn tortillas can also be used for a gluten-free option.
- Unsalted butter: 4 tablespoons of butter add richness; feel free to substitute with olive oil if you prefer.
- Garlic: 4 cloves, minced; fresh garlic is key for that aromatic flavor. You can also use garlic powder in a pinch, about 1 teaspoon.
- Spices: 1 teaspoon paprika, along with salt and pepper to taste, enhance the chicken’s flavor.
- Cheese: A blend of 1 cup shredded mozzarella and ½ cup grated Parmesan cheese creates a delightful gooey filling.
- Fresh parsley: Chopped for garnish, adds a pop of color and freshness.
- Optional heat: If you like a kick, consider adding sliced jalapeños or a splash of hot sauce.
Step-by-Step Instructions for Perfect Garlic Butter Chicken Wraps
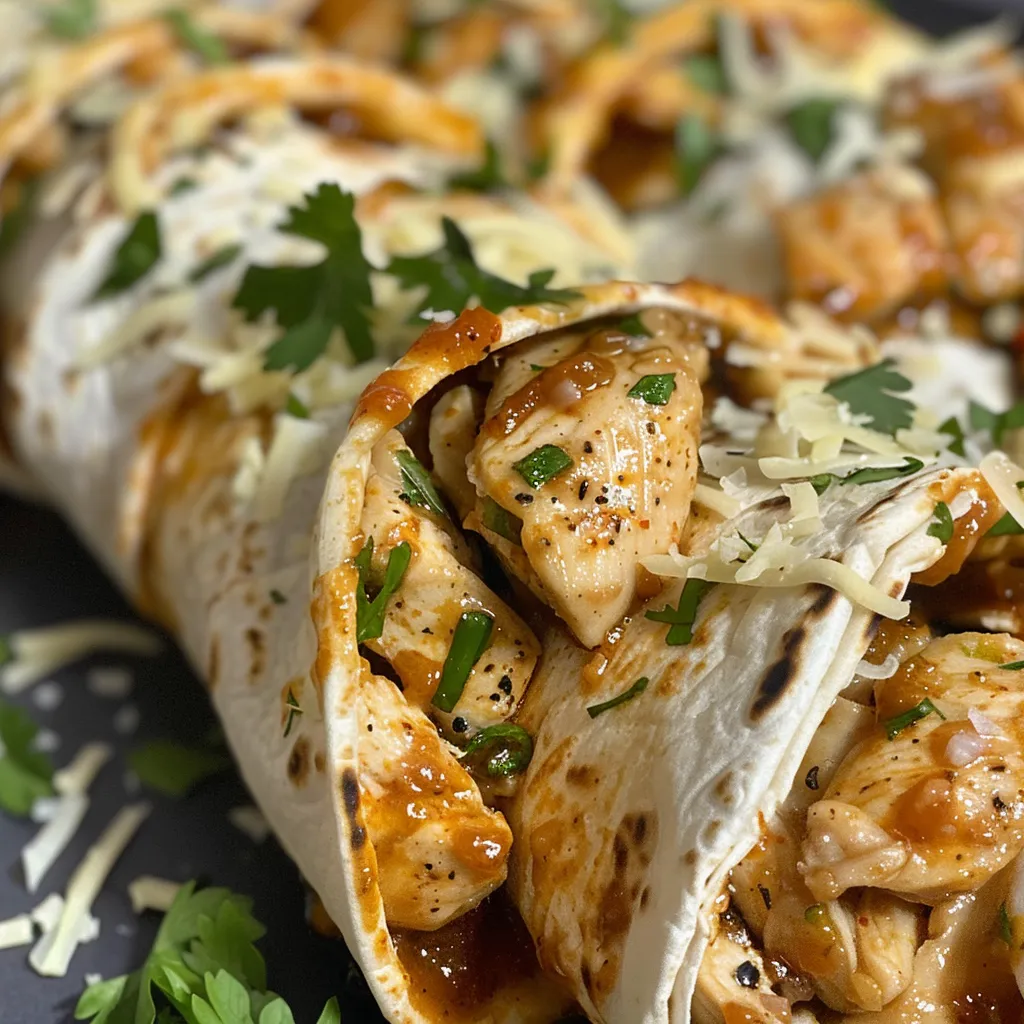
Let’s roll up our sleeves and get cooking! Follow these straightforward steps to create your own Garlic Butter Chicken Wraps:
-
Season the Chicken: Start by seasoning the chicken strips with salt, pepper, and paprika, ensuring they are well coated. Set aside to let the flavors meld.
-
Cook the Garlic Butter Chicken: In a large skillet over medium-high heat, melt 2 tablespoons of butter. Add the minced garlic and cook until fragrant, about 30 seconds. Toss in the seasoned chicken strips and cook for 6-8 minutes, stirring occasionally, until the chicken is cooked through and golden. Remove from heat.
-
Assemble the Wraps: Lay out the tortillas on a clean surface. Divide the cooked garlic butter chicken evenly among them. Sprinkle the shredded mozzarella and Parmesan cheeses over the chicken. If desired, add jalapeños or a dash of hot sauce for added heat.
-
Roll it Up: Roll each tortilla tightly to secure the filling, ensuring none of that delicious goodness escapes.
-
Cook the Wraps: Cook in a heated skillet or air fryer until the cheese melts and the wraps are golden, about 3-4 minutes per side. Alternatively, you can bake them at 375°F (190°C) for 10-15 minutes.
Pro Tips for the Best Garlic Butter Chicken Wraps
To ensure your wraps turn out perfectly every time, here are some expert insights:
- Warm Tortillas: Warm your tortillas slightly before assembling. This prevents cracking and makes them easier to roll.
- Cheese Choices: Experiment with different cheeses; cheddar or pepper jack can add a delightful twist to the flavor profile.
- Herb Infusion: Try adding fresh herbs like basil or cilantro to the filling for an extra layer of flavor.
- Cook in Batches: If you’re making a larger quantity, cook the chicken in batches to avoid overcrowding the pan, ensuring even cooking.
- Resting Time: Allow the wraps to rest for a couple of minutes after cooking. This helps the cheese set slightly, making them easier to slice.
- Serve with Dips: Pair these wraps with your favorite dipping sauces, like ranch or buffalo sauce, for an extra kick.
- Perfectly Crispy: If you want a crunchier wrap, brush the outside of the tortillas with a bit of butter before cooking.
- Make-Ahead: You can prepare the chicken filling in advance and store it in the fridge for up to 3 days, making weeknight meals a breeze.
Common Mistakes and Troubleshooting
Even seasoned cooks can run into a few hiccups. Here’s how to avoid common mistakes:
- Overcooked Chicken: Keep an eye on the chicken to prevent it from becoming dry. It should be cooked until it reaches an internal temperature of 165°F (75°C).
- Soggy Wraps: Avoid overloading the tortillas with filling. A little goes a long way!
- Underseasoned Chicken: Don’t skimp on the spices! Seasoning the chicken properly is crucial for flavorful wraps.
Delicious Variations to Try
Feel free to get creative with your Garlic Butter Chicken Wraps. Here are some tasty variations:
- Veggie Lover’s Wrap: Add sautéed bell peppers, onions, and spinach for a heartier, veggie-packed version.
- Spicy Chicken Wrap: Mix in some sriracha or chipotle sauce with the garlic butter for a spicy kick.
- BBQ Chicken Wrap: Swap the garlic butter for BBQ sauce and add shredded cheddar for a smoky flavor.
- Breakfast Wrap: Incorporate scrambled eggs and breakfast sausage for a morning twist on the classic!
Storage and Make-Ahead Instructions
Planning ahead? Here’s how to store and reheat your wraps:
- Refrigerating: Store cooked wraps in an airtight container in the fridge for up to 3 days.
- Freezing: Allow the wraps to cool completely, then wrap individually in plastic wrap and foil. They can be frozen for up to 2 months.
- Reheating: For best results, reheat in an oven or air fryer to retain crispiness. Microwave reheating can make them soggy.
Frequently Asked Questions
Got questions? Here are some common inquiries about these Garlic Butter Chicken Wraps:
- Can I use other proteins? Absolutely! This recipe works well with turkey, beef, or even plant-based proteins like tofu.
- What’s the best way to serve these wraps? They are delicious on their own or paired with a fresh salad and dipping sauces.
- Can I make these wraps ahead of time? Yes! Prepare the filling a day in advance and assemble the wraps right before cooking.
- How do I keep the wraps from getting soggy? Avoid overfilling, and cook them just until the cheese melts.
- Can I bake these instead of frying? Yes, baking is a great option! Preheat your oven and bake until golden and crispy.
- What type of tortillas should I use? Flour tortillas yield a soft wrap, but corn tortillas are great for a gluten-free alternative.
- Can I add vegetables? Definitely! Sautéed mushrooms, zucchini, or spinach can be delicious additions.
- Are these wraps kid-friendly? Yes! The flavors are mild, and kids love the cheesy, gooey filling.
Nutrition Tips and Dietary Adaptations
For a healthier twist, consider these options:
- Whole Wheat Tortillas: Use whole wheat or spinach tortillas for added fiber and nutrients.
- Lean Chicken Options: Opt for skinless chicken breasts or thighs to reduce fat content.
- Low-Fat Cheese: Substitute with low-fat cheese options to cut down on calories without sacrificing flavor.
Essential Equipment Recommendations
To make your cooking experience smoother, here’s a list of helpful tools:
- Large Skillet: A good quality skillet is essential for evenly cooking the chicken.
- Air Fryer: For crispy wraps with less oil, an air fryer is a fantastic option.
- Spatula: A sturdy spatula is helpful for flipping the wraps without breaking them apart.
- Knife Set: A sharp knife for cutting the chicken into strips and slicing the finished wraps.
Serving Suggestions for Garlic Butter Chicken Wraps
These wraps are versatile and can be served with a variety of sides:
- Simple Salad: A fresh garden salad with a light vinaigrette pairs beautifully.
- Chips and Salsa: Crunchy tortilla chips with salsa add a nice texture contrast.
- Coleslaw: A tangy coleslaw balances the richness of the wraps.
In conclusion, these Garlic Butter Chicken Wraps are more than just a recipe; they are an invitation to gather, share, and enjoy the comforting flavors of home. So gather your loved ones, roll up your sleeves, and let the cooking begin! Remember, in the end, it’s not just about the meal but the memories we create around the table. Happy cooking!
Viral Garlic Butter Chicken Wraps
Ingredients
Chicken
- 2 large chicken breasts (cut into strips)
Wraps
- 4 large flour tortillas or wraps
Dairy
- 4 tablespoons unsalted butter
- 4 cloves garlic (minced)
- 1 teaspoon paprika
Cheese
- 1 cup shredded mozzarella cheese
- 0.5 cup grated Parmesan cheese
Garnish & Extras
- to taste Salt and freshly ground black pepper
- for garnish Fresh parsley, chopped
- optional sliced jalapeños or hot sauce (for added heat)
Instructions
- Season chicken strips with salt, pepper, and paprika. Set aside.
- In a skillet, melt 2 tablespoons of butter, add garlic, and cook until fragrant. Add chicken and cook 6-8 minutes until golden. Remove from heat.
- Divide chicken among tortillas, sprinkle with cheeses, and add jalapeños or hot sauce if desired.
- Roll tortillas tightly and cook in a skillet or air fryer until cheese melts and wraps are golden, about 3-4 minutes per side, or bake at 375°F (190°C) for 10-15 minutes.