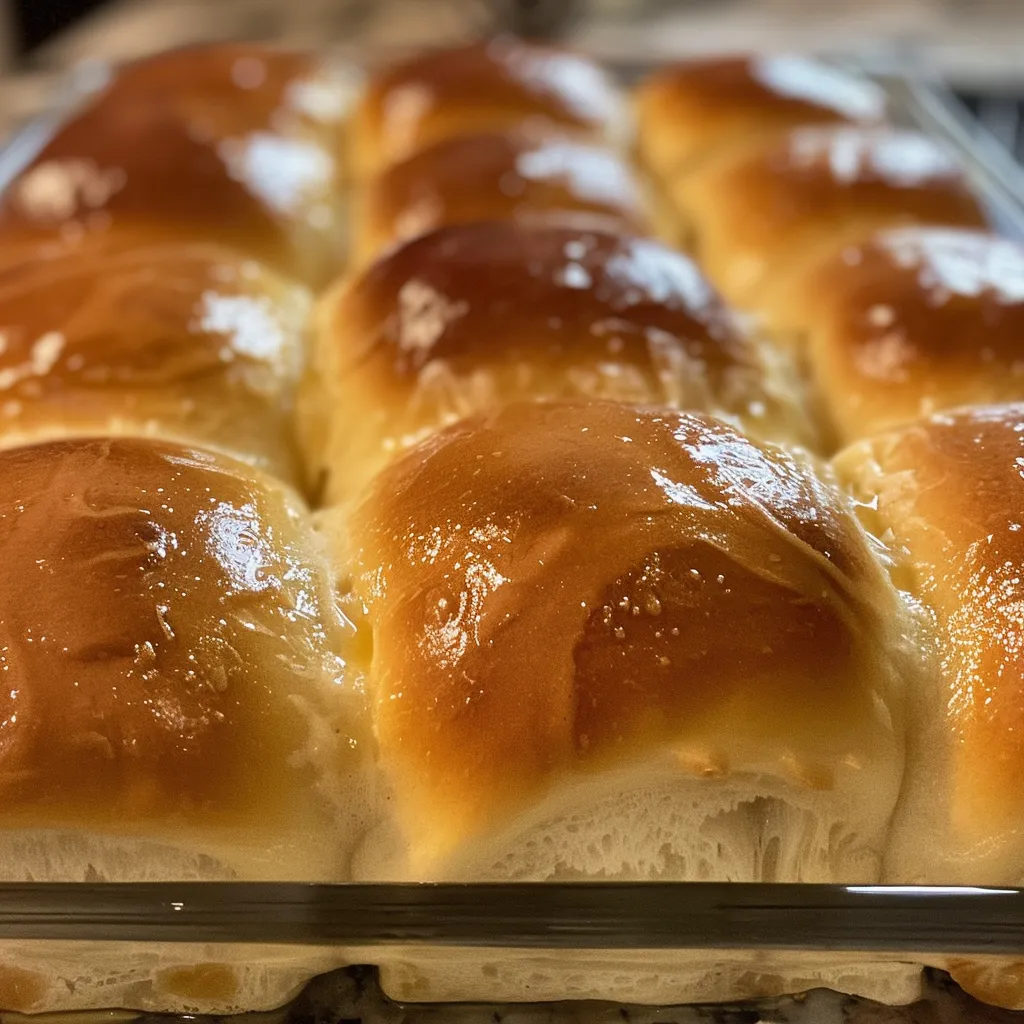
The Comfort of Homemade Dairy-Free & Gluten-Free Dinner Rolls
When it comes to cozy meals, nothing feels quite like the warmth of homemade dinner rolls. They have a way of making every meal feel special, whether it’s a family gathering or a quiet dinner at home. In this guide, I’m excited to share my beloved recipe for dairy-free and gluten-free dinner rolls that will hug your taste buds and fill your kitchen with delightful aromas. With simple ingredients and a touch of love, these rolls are perfect for any occasion!
Why You’ll Love This Recipe
These dinner rolls are not just another recipe; they’re a celebration of comfort and connection. Here’s why you’ll fall head over heels for them:
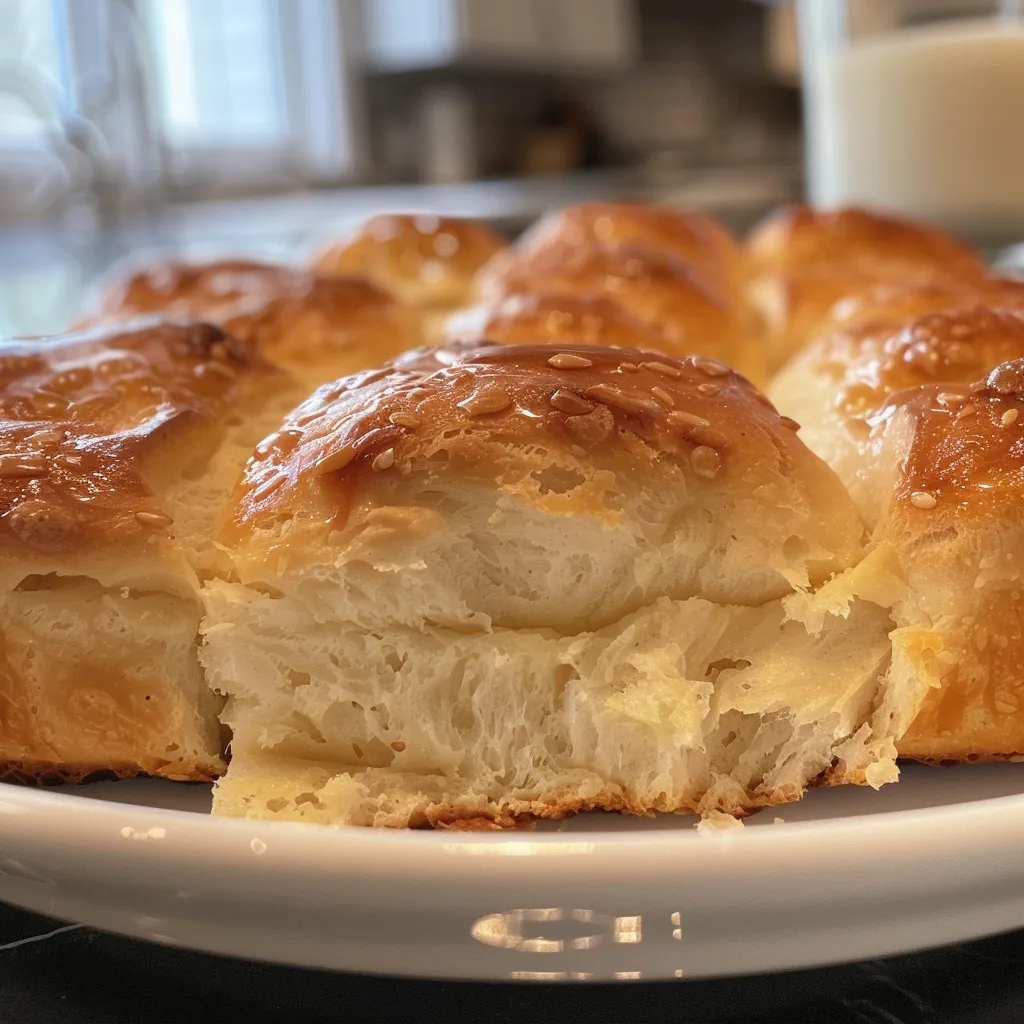
- Perfectly Fluffy Texture: You won’t believe these rolls are gluten-free! They rise beautifully and are light, making them a joy to tear apart.
- Simple Pantry Ingredients: No need to hunt for specialty items. Most of these ingredients are likely already in your kitchen, ready to whip into something magical.
- Dairy-Free Friendly: This recipe accommodates everyone at the table. It’s easily adaptable for those avoiding dairy, allowing all to enjoy!
- Quick and Easy to Make: Even if you’re a beginner, these rolls come together effortlessly, assuring you a successful bake every time.
- Versatile for Any Occasion: Whether it’s a holiday feast, a family Sunday dinner, or just a comforting weeknight meal, these rolls fit right in.
Ingredient Breakdown
Before you roll up your sleeves, let’s dive into the nitty-gritty of what you’ll need:
- 3 cups gluten-free flour: I recommend a blend that includes xanthan gum for the best texture.
- 2 tsp instant yeast: This helps the rolls rise quickly and gives them that fluffy quality.
- 2 tbsp granulated sugar: A touch of sweetness enhances flavor and aids in browning.
- 1 tsp salt: Essential for flavor; don’t skip it!
- 2 eggs, room temperature: They provide richness and structure to the rolls.
- 1/4 cup unsalted butter, softened (or dairy-free butter): Adds a wonderful richness. For a dairy-free option, use your favorite alternative.
- 1 1/4 cups milk, room temperature (dairy-free or lactose-free possible): This helps hydrate the dough without making it too wet.
- 1 tsp apple cider vinegar or lemon juice: This adds a slight tang and helps with the rise.
Pro Tips for Perfect Rolls
Here are some expert insights to ensure your rolls turn out just right:
- Room Temperature Ingredients: Make sure your eggs and milk are at room temperature. This helps the dough come together more easily.
- Mixing the Dough: Don’t overmix! Just combine until you see no dry flour; this keeps the rolls tender.
- Watch the Proofing: Allow enough time for the dough to rise. It should double in size for the best texture.
- Oven Temperature Matters: Preheat your oven properly. A hot oven is crucial for a good rise.
- Brush with Butter: For an extra touch, brush the tops of the rolls with melted butter (or dairy-free alternative) right before baking.
- Don’t Skip the Vinegar: This little ingredient helps improve the texture of gluten-free dough significantly.
- Experiment with Flours: If you want to try different gluten-free flours, King Arthur’s baking blend works wonders.
- Keep an Eye on Baking Time: Every oven is different; check your rolls a few minutes before the suggested baking time.
Common Mistakes and Troubleshooting
Even seasoned bakers can run into hiccups. Here’s how to avoid common pitfalls:
- Too Dry or Too Wet Dough: Adjust flour or liquid gradually. The dough should be slightly sticky but manageable.
- Underproofing: If the dough doesn’t rise enough, the rolls will be dense. Give it time and warmth to rise properly.
- Overbaking: Keep a close eye on them; they can go from golden to burned quickly.
- Using Expired Yeast: Always check your yeast’s freshness; expired yeast won’t rise properly.
Variations to Try
Feel free to mix things up with these variations:
- Herbed Rolls: Add fresh herbs like rosemary or thyme to the dough for an aromatic twist.
- Cheesy Rolls: Incorporate dairy-free cheese or nutritional yeast for a cheesy flavor.
- Sweet Rolls: Mix in cinnamon and sugar for a delightful breakfast option.
- Seed Topped Rolls: Sprinkle sesame or poppy seeds on top before baking for extra crunch.
Storage and Make-Ahead Instructions
To keep your rolls fresh and delicious:
- Room Temperature: Store in an airtight container for up to 3 days.
- Freezing: Freeze baked rolls in a zip-top bag; they last up to 3 months. Reheat directly from the freezer.
- Make Ahead: Prepare the dough and let it rise, then store it in the fridge overnight. Shape and bake the next day!
Comprehensive FAQ
Got questions? Let’s tackle some frequently asked ones:
- Can I use regular flour instead of gluten-free? No, this recipe is specifically designed for gluten-free flour.
- What kind of gluten-free flour should I use? A blend with xanthan gum works best, like King Arthur’s gluten-free flour.
- Can I make these rolls vegan? Yes! Replace eggs with flax eggs and use dairy-free butter and milk.
- How do I know if my rolls are done baking? They should be golden brown on top and sound hollow when tapped.
- What can I serve with these rolls? They pair well with soups, stews, or as a side for any main dish.
- Can I add nuts or seeds to the dough? Absolutely! Just fold them in gently after mixing.
- How long should I let the dough rise? Aim for about 1 hour or until it doubles in size.
- Can I reheat leftover rolls? Yes, you can reheat them in the oven for a few minutes to restore freshness.
Nutritional Tips and Dietary Adaptations
These rolls can be a part of a balanced diet. Here’s how to adapt:
- Low Sugar Option: Reduce the sugar to 1 tablespoon for a less sweet roll.
- High-Protein Version: Add a scoop of protein powder to the flour mixture for a protein boost.
- Fiber-Rich Rolls: Incorporate ground flaxseed or chia seeds into the dough for added fiber.
Recommended Equipment
A few kitchen tools will make your baking experience smoother:
- Mixing Bowl: A large bowl for mixing your dough.
- Measuring Cups and Spoons: Precision is key in baking!
- Whisk: For a thorough mixing of dry ingredients.
- Rolling Pin: Helpful if you decide to shape your rolls more intricately.
- Baking Sheet: A sturdy sheet for baking your rolls evenly.
Serving Suggestions
These delightful dinner rolls shine best when served with:
- Homemade Soup: Pair with your favorite vegetable or chicken soup for a heartwarming meal.
- Stews: They soak up the rich flavors perfectly, making every bite a delight.
- Salads: Serve alongside a fresh garden salad for a balanced meal.
- Spreads: Enjoy with butter or dairy-free spreads for an extra treat.
In conclusion, these dairy-free and gluten-free dinner rolls are more than just a recipe; they’re a way to create memories around the table. So, gather your loved ones, roll up your sleeves, and let’s get baking! Remember, cooking is all about care, patience, and allowing those simple ingredients to shine. Happy baking, friends!
Dairy-Free & Gluten-Free Dinner Rolls - Alrightwithme
Ingredients
Dry ingredients
- 3 cups gluten-free flour
- 2 tsp instant yeast
- 2 tbsp granulated sugar
- 1 tsp salt
Wet ingredients
- 2 eggs eggs, room temperature
- 1/4 cup unsalted butter, softened (dairy-free optional)
- 1 1/4 cups milk, room temperature (dairy-free or lactose-free possible)
- 1 tsp apple cider vinegar or lemon juice
Instructions
- Mix dry ingredients in a large bowl.
- Whisk eggs, milk, vinegar, and softened butter together.
- Combine wet and dry ingredients until a dough forms.
- Divide dough into 8 pieces and shape into rolls.
- Place rolls on a baking sheet and let rise for 10 minutes.
- Bake at 375°F (190°C) for 20 minutes until golden.