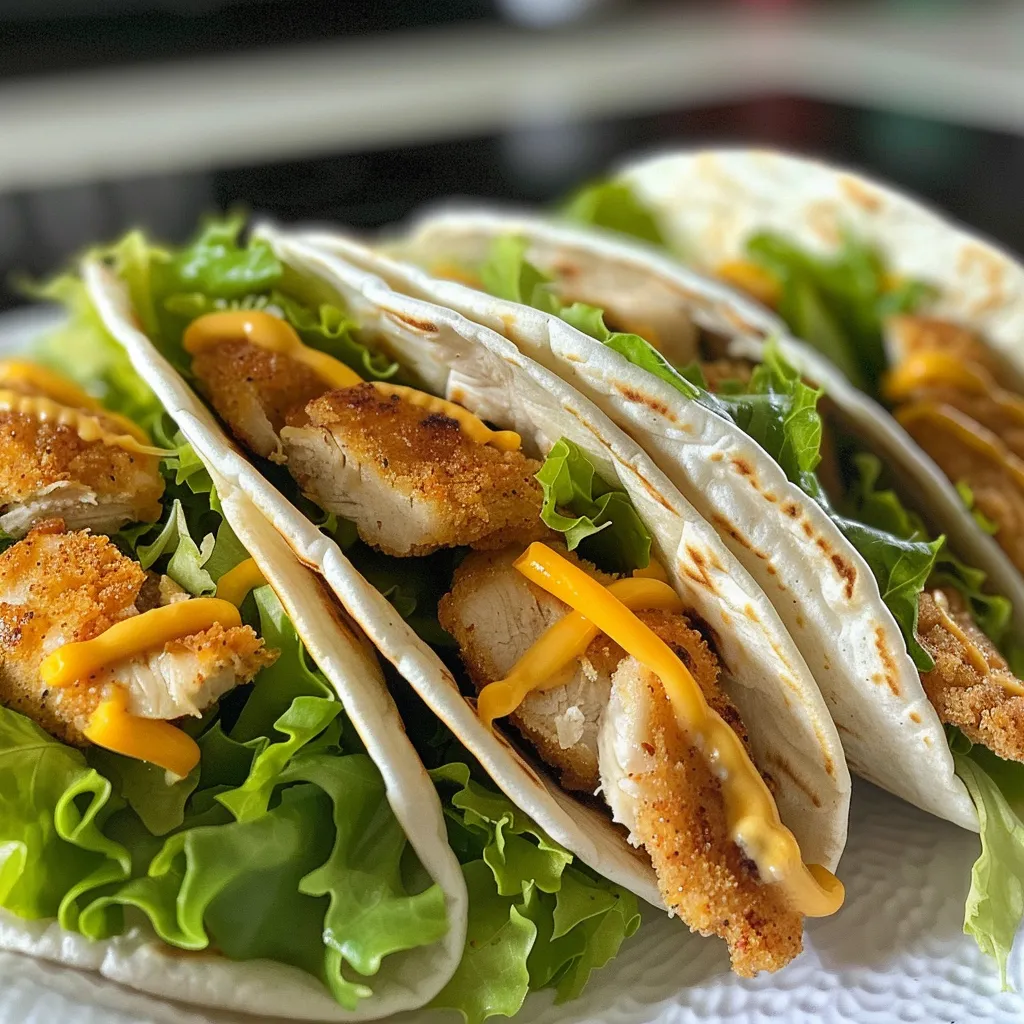
Gather ’round the table, friends! Today, we’re diving into a recipe that’s as comforting as a Sunday dinner at home. Imagine crispy chicken tenders wrapped snugly in warm tortillas, fresh lettuce adding a crunch, and a drizzle of your favorite sauce. These mini chicken wraps are not just a meal; they’re a celebration of togetherness, perfect for gatherings, picnics, or cozy family meals. Let’s explore how to whip up these delightful bites that are sure to bring smiles all around.
Why You’ll Love This Recipe
These mini chicken wraps aren’t just easy to make; they come packed with goodness and flavor that everyone will love. Here’s why this recipe is a winner:
- Quick and easy: You can prepare and serve these wraps in under 30 minutes, making them a great last-minute option for lunch or dinner.
- Kid-approved: The combination of crispy chicken and creamy sauces makes these wraps a hit with kids. They’ll love the fun size!
- Customizable: You can easily switch up the ingredients based on what you have in the pantry or your family’s preferences.
- Perfect for gatherings: These wraps are ideal for parties or picnics because they’re easy to transport and serve.
- Leftovers friendly: They taste just as good the next day, making them a great option for meal prep.
Ingredient Breakdown
Let’s dive into the ingredients that make up these delicious wraps. Here’s what you’ll need:
- 12 frozen chicken tenders: You can use any brand you like. For a healthier option, consider using baked chicken or grilled chicken strips.
- 12 mini flour tortillas: Street-taco size works best, but you can also use corn tortillas if you prefer.
- 12 small pieces of lettuce: Romaine or iceberg provides a satisfying crunch. Feel free to swap with spinach for a twist.
- 3 slices of cheese: Cheddar is a classic choice, but pepper jack or mozzarella can add a nice touch.
- 3 tablespoons of mustard: Adds a tangy kick. You can also substitute with ranch dressing or honey mustard.
- 3 tablespoons of mayonnaise: This is optional but adds creaminess. Consider using Greek yogurt for a lighter option.
Step-by-Step Instructions
Ready to get cooking? Follow these simple steps to assemble your mini chicken wraps:
- Cook the frozen chicken tenders according to the package instructions. Let them cool slightly.
- Heat the tortillas for 10-15 seconds on a hot pan or in the microwave to make them pliable.
- On the top half of the tortilla, spread mustard. Place the lettuce leaf on top, then the chicken, followed by cheese. Spread the mayo on the bottom half of the tortilla.
- Fold up the mayo-covered edge over the cheese. Then fold the ends in. Wrap each in deli paper or food-safe newspaper.
Pro Tips for Perfect Mini Chicken Wraps
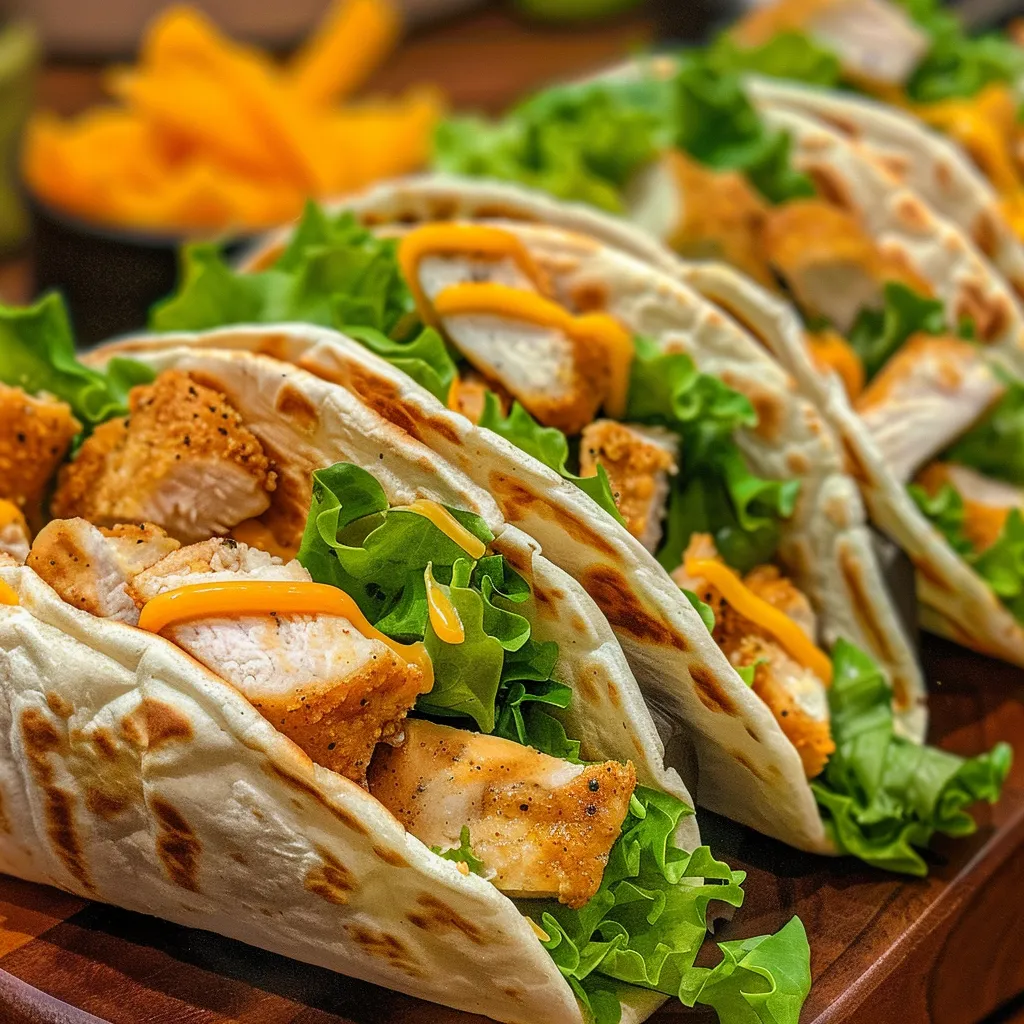
Getting the best results from your mini chicken wraps is easy with a few expert insights. Here are some tips to elevate your wrap game:
- Warm your tortillas: Always warm your tortillas before assembling. It makes them easier to roll and prevents tearing.
- Experiment with textures: Adding other crunchy vegetables like bell peppers or cucumbers can enhance the texture.
- Layer wisely: Place the ingredients strategically; starting with the sauce, followed by lettuce, chicken, and then cheese helps prevent sogginess.
- Make it spicy: Add some sliced jalapeños or a drizzle of hot sauce for an extra kick.
- Chill before serving: If you have time, letting the wraps chill for 30 minutes can help the flavors meld together.
- Use deli paper: Wrapping each mini chicken wrap in deli paper not only looks neat but also keeps them fresh.
- Double up on chicken: For heartier appetites, add an extra chicken tender or two in each wrap.
- Fresh herbs: Adding fresh herbs like cilantro or parsley can brighten up the flavors.
Common Mistakes and Troubleshooting
Even the best cooks can run into a few hiccups. Here are some common mistakes to avoid:
- Overfilling the wraps: It might be tempting to pile on the ingredients, but too much can make them hard to roll.
- Not warming tortillas: Skipping this step can lead to torn tortillas and frustrating assembly.
- Using cold chicken: Cold chicken can lead to a less enjoyable eating experience. Always let it cool slightly after cooking.
Variations to Try
Feel like switching things up? Here are some tasty variations on the classic mini chicken wraps:
- BBQ Chicken Wrap: Substitute the mustard with barbecue sauce and add shredded cheese for a smoky flavor.
- Buffalo Chicken Wrap: Toss the chicken in buffalo sauce for a spicy twist, and add blue cheese crumbles.
- Southwestern Wrap: Add black beans, corn, and avocado for a fresh southwestern flair.
- Breakfast Wrap: Replace chicken with scrambled eggs, and add cheese and salsa for a breakfast treat.
Storage and Make-Ahead Instructions
If you’re planning on serving these mini chicken wraps later, here’s how to store them:
- Refrigerate: Store wrapped mini chicken wraps in an airtight container in the fridge for up to 2 days.
- Freeze: You can freeze the assembled wraps without the sauce for up to 1 month. Just thaw and add sauce before serving.
- Make-ahead: You can prepare the chicken tenders and cut vegetables a day in advance. Assemble them on the day of serving for freshness.
Frequently Asked Questions
Got questions? Here are some common queries answered:
- Can I use different proteins? Absolutely! Feel free to substitute chicken with turkey, beef, or even tofu for a vegetarian option.
- What sauces work best? Mustard, mayonnaise, ranch, and BBQ sauce are all great choices. Get creative!
- Are these wraps gluten-free? You can make them gluten-free by using corn tortillas and ensuring the chicken tenders are gluten-free.
- How do I keep them from getting soggy? Ensure to use fresh ingredients and wrap them tightly to keep moisture out.
- Can I add fruits? Yes! Sliced apples or grapes can add a sweet crunch to your wraps.
- What’s the best way to serve these wraps? Serve them with a side of chips, fruit, or fresh veggies for a complete meal.
- Can I make them spicy? Certainly! Add some hot sauce or sliced jalapeños for a kick.
- How long do they last in the fridge? They can be kept for up to 2 days in a sealed container.
Nutrition Tips and Dietary Adaptations
Want to make your mini chicken wraps a bit healthier? Here are some ideas:
- Whole grain tortillas: Opt for whole grain or spinach tortillas for added fiber and nutrients.
- Lean proteins: Choose grilled chicken or baked chicken tenders to cut down on fat.
- Extra veggies: Load up on veggies like spinach, cucumbers, or bell peppers for added vitamins.
Equipment Recommendations
To make the process smooth, here’s a list of equipment you’ll need:
- Non-stick frying pan: For warming the tortillas and ensuring they don’t stick.
- Sharp knife: For slicing chicken and veggies easily.
- Cutting board: A sturdy surface to prepare your ingredients.
- Microwave: Handy for quickly warming tortillas.
Serving Suggestions
These wraps are versatile and can be served in various delightful ways:
- On a platter: Arrange them beautifully on a platter for parties.
- With dips: Serve with sides of ranch, blue cheese, or guacamole for extra flavor.
- As a meal: Pair with a fresh salad or fruit for a complete meal.
With these mini chicken wraps, you’re not just serving food; you’re sharing love and memories. Whether it’s a sunny picnic or a cozy family night, these wraps are bound to bring joy to your table. So roll up your sleeves, gather your loved ones, and enjoy the simple pleasure of good food together. Happy cooking!
Mini Chicken Wraps
Ingredients
Protein
- 12 pieces frozen chicken tenders (Cook according to package instructions)
Wraps
- 12 pieces mini flour tortillas (street-taco size)
Vegetables
- 12 small pieces lettuce
Cheese
- 3 slices cheese (quartered)
Condiments
- 3 tablespoons mustard (optional)
- 3 tablespoons mayonnaise
Instructions
- Cook chicken tenders as per package instructions and let cool slightly.
- Warm tortillas for 10-15 seconds to make them pliable.
- Spread mustard on the top half of each tortilla. Place lettuce, chicken, and cheese on top. Spread mayo on the bottom half.
- Fold the mayo side over the cheese, then fold in the ends. Wrap in deli paper or food-safe newspaper.